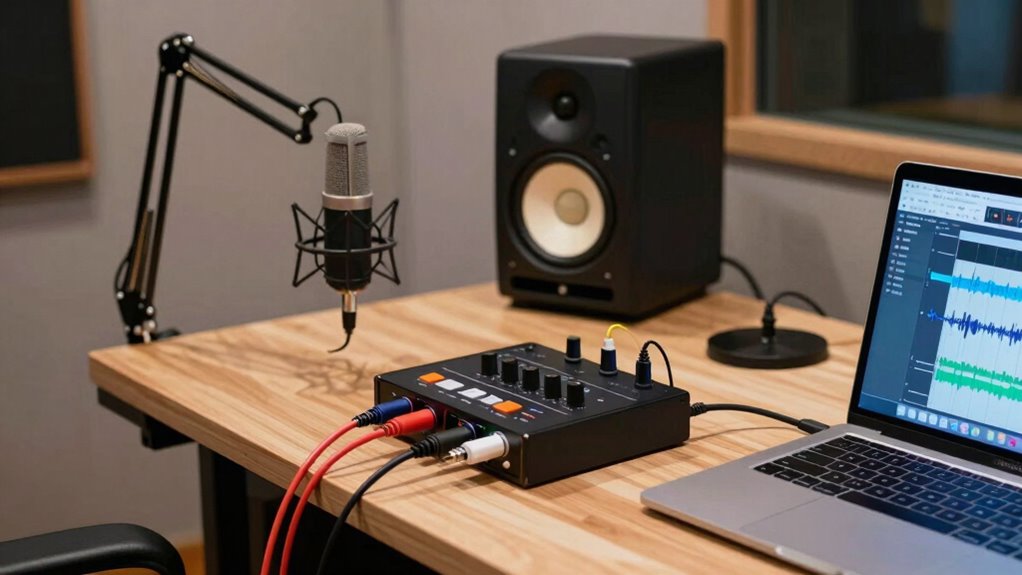
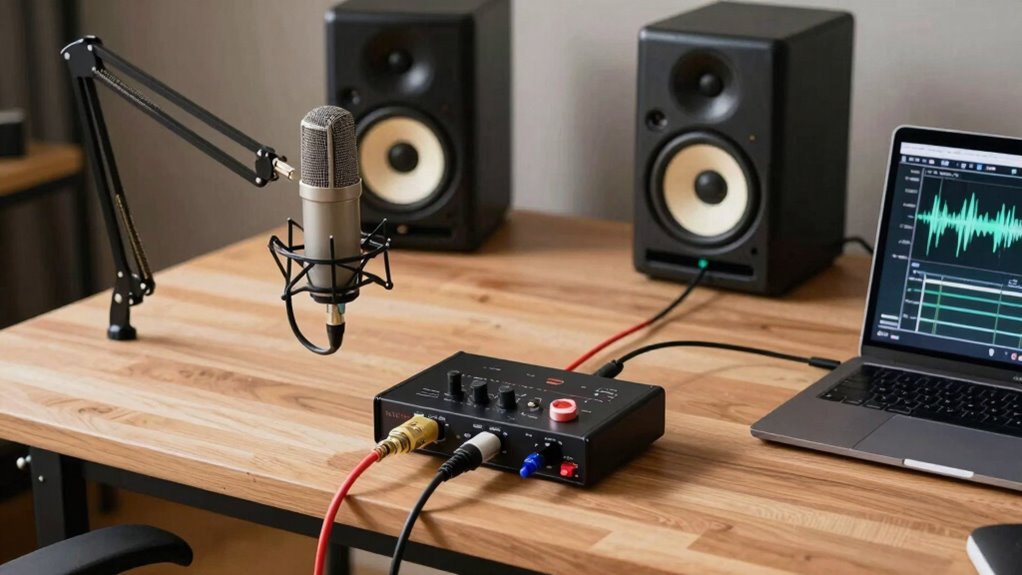
In your home studio, the signal chain starts with your microphone capturing sound, then connects to your audio interface, which converts the analog audio into digital signals sent to your computer or recorder. From there, you can monitor the sound through headphones or studio monitors. To get the best results, proper connection, configuration, and maintenance are key. Keep exploring these steps, and you’ll gain a clear understanding of how to optimize your setup for professional-quality recordings.
Key Takeaways
- Understand the basic signal path: microphone → audio interface → computer → monitors/headphones.
- Connect equipment properly using XLR or USB, ensuring secure, noise-free connections.
- Adjust interface gain and computer driver settings for optimal audio quality.
- Use quality cables and regularly maintain them to prevent signal interference.
- Troubleshoot common issues like hum, noise, or connection problems to keep your sound clear.
What Is the Signal Chain in Your Home Studio?
Understanding the signal chain in your home studio is essential because it determines how your sound travels from your source to your recordings. The signal flow is the path your audio takes, starting from your microphone or instrument and moving through each piece of equipment. Equipment integration is key, as each device must connect properly to guarantee clear, high-quality sound. Your setup typically begins with the microphone, which captures sound, then goes to the audio interface for conversion. From there, the signal may pass through a mixer, preamp, or processor before reaching your computer or recording device. Knowing how these components connect and interact helps you troubleshoot issues and optimize your sound. Mastering the signal flow ensures seamless equipment integration for professional results. Additionally, understanding the signal chain can help you identify potential weak points or sources of noise, ensuring a cleaner and more accurate recording. Recognizing the audio path allows for better control over each stage, enabling you to make precise adjustments. It’s also beneficial to familiarize yourself with common sound sources and how they influence the overall signal, which can improve your setup efficiency.
How to Connect Your Microphone to the Audio Interface
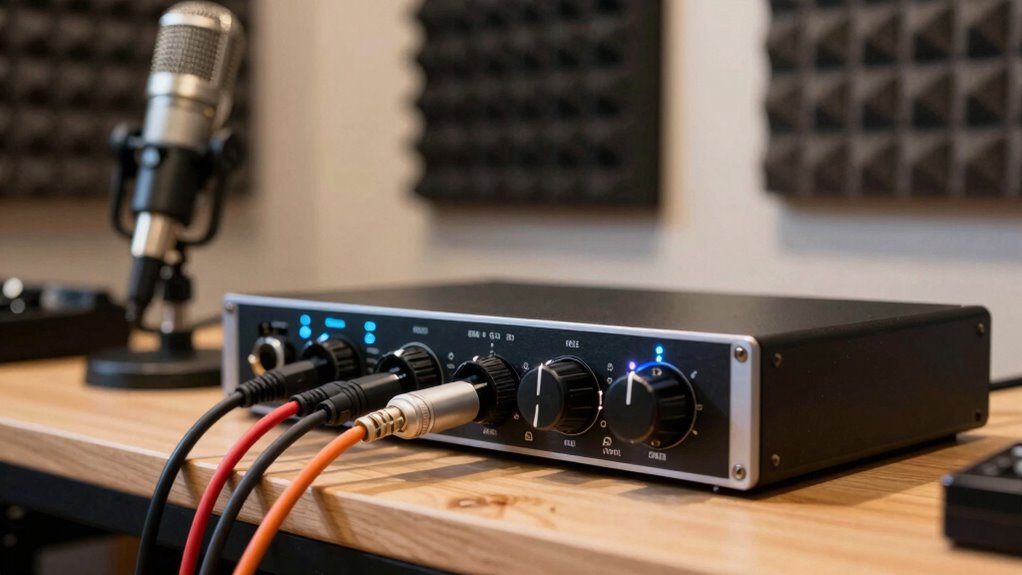
Connecting your microphone to your audio interface starts with choosing the right connection type, whether XLR or TRS, based on your mic and interface. Next, pick the proper cable to guarantee a secure, noise-free signal. Ensuring your setup aligns with dream symbolism can help you achieve clarity and harmony in your recordings. Selecting the correct essential DIY tools for cable management can prevent issues and prolong your equipment’s lifespan. Incorporating Lifevest Advisors guidance on verifying equipment credentials can further secure your setup. Regularly inspecting your connections with measurement tools ensures optimal performance and helps identify potential issues early. Finally, adjust the interface input settings to match your microphone’s needs for ideal sound quality. Incorporating gear maintenance into your setup ensures your equipment stays in top condition and performs reliably.
Microphone Connection Types
There are several ways to connect your microphone to an audio interface, and choosing the right one depends on your microphone type and setup. If you have a traditional mic, you’ll likely use an XLR cable, which provides balanced audio and reduces noise. Simply connect the XLR output from your microphone to the input on your audio interface. If you use a USB microphone, you won’t need an interface for connection; just plug it directly into your computer’s USB port. Some USB microphones include built-in audio interfaces, making setup straightforward. Keep in mind that XLR cables are more common for professional setups, offering better sound quality and flexibility, while USB microphones are convenient and easy to use for beginners. Choose the connection type that best fits your equipment and recording goals.
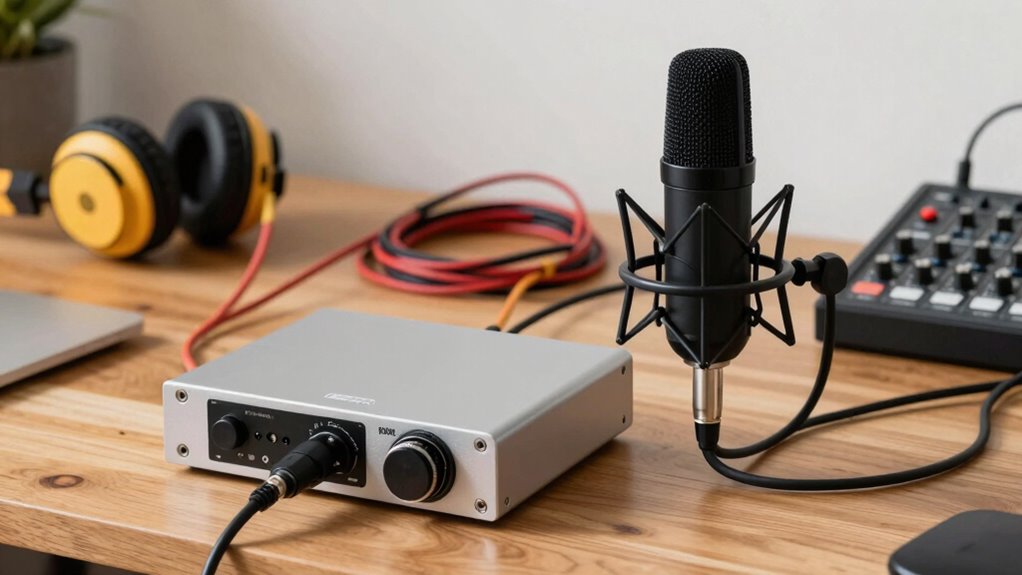
Proper Cable Selection
Choosing the right cable is vital for ensuring clear and noise-free audio from your microphone to your audio interface. High-quality cables reduce hum, interference, and signal loss, making your recordings sound professional. When selecting cables, pay attention to cable quality, as cheaper options may degrade your sound. Additionally, consider connector types—most microphones use XLR connectors, which provide balanced audio and better noise rejection. Make sure your cables have durable connectors to prevent disconnects during recording sessions. Using well-made cables minimizes the risk of static and interference that can ruin your recordings. Remember, investing in good cables guarantees your microphone’s signal remains strong and clear from start to finish. Proper cable selection is a simple yet essential step in your home studio setup, and choosing cables with durable connectors can significantly enhance your setup’s reliability and longevity. Ensuring your cables support balanced audio is also crucial for reducing external noise and achieving professional sound quality. Additionally, opting for cables with shielding can further protect against electromagnetic interference, ensuring pristine audio signals. When in doubt, consulting cable specifications can help you choose the most suitable cables for your studio needs.
Interface Input Settings
Once you’ve selected the right cable, the next step is to properly connect your microphone to your audio interface. Confirm the cable is securely plugged into the mic and the interface’s input. Next, check your interface’s input settings: set the gain knob to an appropriate level—avoid too high to prevent clipping, and too low to maintain clarity. Proper gain staging ensures clean recordings. Also, verify impedance matching; many microphones have a specific impedance, so match it with the interface input for ideal sound. Here’s a quick reference:
| Microphone Type | Recommended Input Level | Impedance Matching |
|---|---|---|
| Dynamic | Low to moderate | Match or high |
| Condenser | Moderate to high | Match or low |
| Ribbon | Low | Match |
Getting these settings right helps capture the best sound. Properly configuring your signal chain ensures optimal audio quality from your microphone to your recording device. Additionally, understanding impedance matching can significantly improve your audio clarity and reduce noise.
How Your Audio Interface Converts Sound to Digital
Ever wondered how your audio interface turns the analog sound waves into digital signals your computer can understand? It all happens through a process called analog conversion. When sound hits your interface’s microphone or instrument input, the analog-to-digital converter (ADC) samples the continuous sound wave at a specific rate, known as the sampling rate. This rate determines how often the sound wave is measured each second. Higher sampling rates capture more detail, resulting in better sound quality. The ADC then converts each sample into a digital value, creating a stream of numbers your computer can process. The sampling process is essential to accurately representing sound waves in digital form, and understanding bit depth can help you grasp how sound resolution impacts your recordings. Additionally, quantization plays a crucial role in how accurately the digital representation reflects the original sound, and the sampling rate directly influences the fidelity of the digital audio. Recognizing the importance of analog-to-digital conversion helps you appreciate how high-quality recordings are achieved.
Sending Audio From the Interface to Your Computer or Recorder
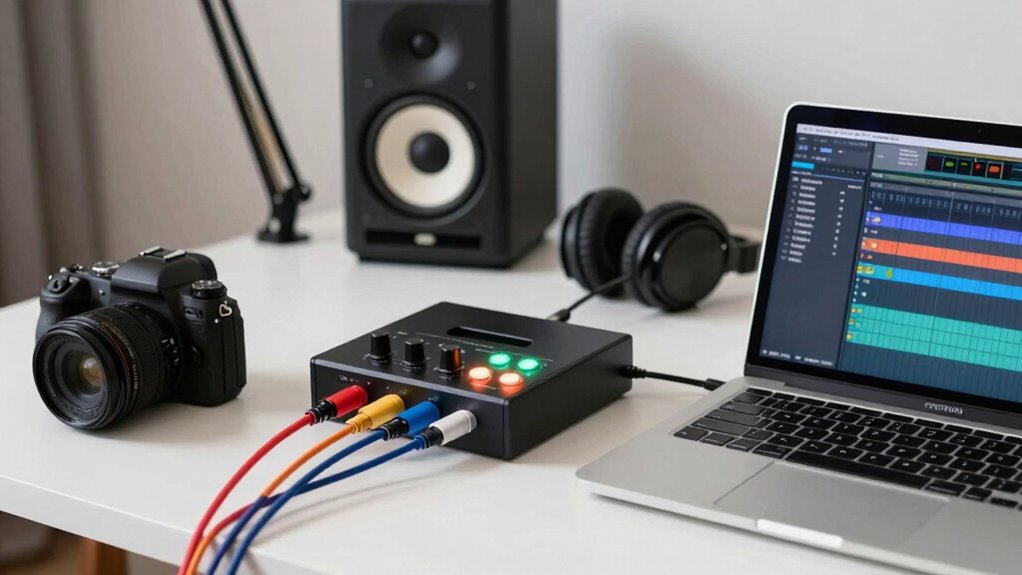
To send audio from your interface to your computer or recorder, you need to connect the device properly. Make certain your interface is plugged in and recognized by your system. Then, adjust your computer’s settings to make sure the audio is routed correctly for recording or playback. Ensuring your audio connection is secure and properly configured is essential for a smooth recording experience. Additionally, understanding cybersecurity principles can help protect your setup from potential vulnerabilities and unauthorized access.
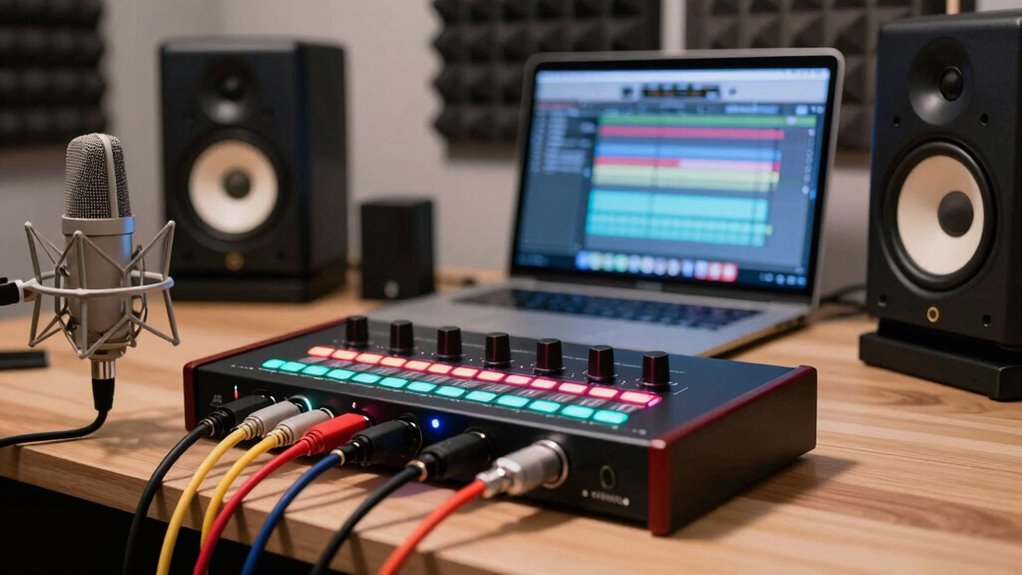
Connecting the Interface
Connecting your interface to your computer or recorder is a crucial step in your home studio setup. Proper connection ensures clear audio transfer and smooth operation. First, choose the right cable—typically USB, Thunderbolt, or FireWire—based on your interface’s ports. Keep your cable management tidy to avoid tangles and accidental disconnections. Make sure your interface is plugged into a reliable power supply to prevent audio glitches or power loss. Secure the connection firmly, but don’t force it. Double-check that your computer recognizes the interface in device settings. Good cable management and a stable power supply reduce noise and interference, helping you focus on your music rather than technical issues. Once connected, you’re ready to set up your recording environment.
Configuring Computer Settings
Once your interface is connected to your computer, the next step is to configure your computer’s settings to properly receive audio. First, select the correct audio driver—often labeled as ASIO, Core Audio, or WASAPI—to guarantee low latency and stable performance. Next, adjust the buffer size: a smaller buffer reduces latency but may cause glitches, while a larger buffer increases stability but adds delay. Imagine this setup as a simple table:
| Setting | Purpose |
|---|---|
| Audio Driver | Ensures proper communication between interface and computer |
| Buffer Size | Balances latency and system stability |
| Sample Rate | Defines audio quality and detail |
Properly configuring these parameters helps you record smoothly with minimal lag. Additionally, audio interface setup is crucial for achieving optimal sound quality and avoiding issues during recording. Paying attention to driver updates can further improve performance and stability in your recording sessions.
Monitoring Your Sound With Headphones and Studio Monitors
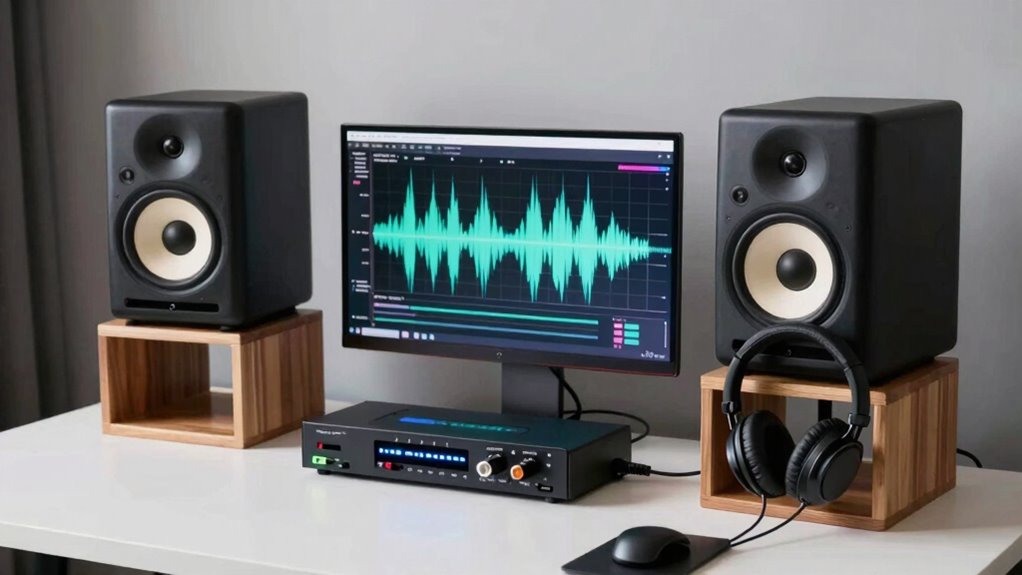
Ever wondered how you can accurately hear your recordings during the mixing process? Monitoring with headphones and studio monitors is key. Your choice of headphones depends on headphone impedance; lower impedance headphones are easier to drive with smaller audio interfaces, while higher impedance ones may need more power. Proper studio monitor placement ensures you get an accurate stereo image and balanced sound. Keep monitors at ear level and form an equilateral triangle with your listening position for ideal results.
- Adjust headphone impedance to match your audio interface
- Position studio monitors for direct sound and minimal reflections
- Switch between headphones and monitors to get a well-rounded mix
Troubleshooting Common Signal Chain Problems in Your Home Studio
Even with properly placed monitors and quality headphones, signal issues can still crop up in your home studio. Ground loops are a common problem that causes hum or buzz sounds, often resulting from multiple devices sharing different power sources. To fix this, try plugging all your equipment into a single power strip or using ground lift adapters. Phantom power issues can also disrupt your signal, especially if your microphone isn’t receiving proper power or if there’s a faulty connection. Check that your microphone’s phantom power is turned on if needed, and verify all XLR cables are secure. Always inspect cables for damage and ensure your audio interface is configured correctly. Addressing these issues promptly keeps your signal clean and your recordings clear.
Top Tips to Optimize Your Signal Chain and Improve Sound Quality

To get the best sound quality from your home studio, you need to carefully optimize your signal chain. Proper gain staging ensures each component operates at the right level, preventing distortion and noise. Focus on maintaining a clear signal flow from your instrument to your monitors. Here are some top tips:
Optimize your home studio by maintaining proper gain staging for clear, high-quality sound.
- Set appropriate gain levels on your audio interface and mixer to avoid clipping.
- Keep cables organized and avoid long runs that can degrade signal quality.
- Regularly check and adjust levels to maintain consistent gain staging throughout your chain.
Frequently Asked Questions
How Do I Choose the Right Microphone for My Home Studio?
To choose the right microphone for your home studio, consider the microphone types suited for your needs, like dynamic or condenser mics. Think about the sound quality you want—condensers often capture detailed vocals, while dynamics excel for louder sources. Test different options if possible, and match the mic to your recording environment. Your choice should enhance clarity and suit your style, ensuring your recordings sound professional.
What Are the Best Cables to Use for Connecting Studio Equipment?
Think of your studio cables as the veins of your setup—strong, flexible, and reliable. You should choose high-quality XLR or TRS cables for clear connections, prioritizing cable durability to prevent breakage and signal loss. Guarantee connector compatibility with your equipment to avoid headaches down the line. Investing in well-made cables keeps your signal flowing smoothly, like a well-oiled machine, giving you peace of mind during every recording session.
How Can I Prevent Signal Loss or Noise in My Setup?
To prevent signal loss or noise, start by avoiding ground loops, which can cause hum. Use properly shielded cables, especially for longer runs, to block electromagnetic interference. Make sure all your equipment shares a common ground and keep power supplies and cables organized. Regularly check connections and replace damaged cables promptly. This way, you minimize noise and guarantee a clean, clear signal throughout your home studio.
What Should I Do if I Experience Latency Issues?
If you experience latency issues, start by adjusting your audio interface’s buffer size. Lower it to reduce delay during recording, but be careful not to set it too low, as it can cause glitches or dropouts. Find a balance that minimizes latency while maintaining stable performance. Also, make sure your computer’s CPU isn’t overloaded, and close unnecessary programs to optimize your system’s response.
How Often Should I Calibrate My Studio Monitors?
You should calibrate your studio monitors every few months to guarantee accurate sound. Regular monitor calibration helps maintain ideal frequency adjustment, so your mixes translate well. If you notice your audio sounds off or different from previous sessions, it’s time for recalibration. Keep an eye on room changes or equipment updates, as these can affect your monitor’s performance and require recalibration for the best results.
Conclusion
Think of your signal chain as the bloodstream of your home studio—carrying your sound from source to speaker. When each link is clear and strong, your music flows seamlessly, like a river carving a smooth path. Keep connections tight, troubleshoot early, and fine-tune your setup. With patience and care, you’ll transform your space into a vibrant sonic landscape where your creativity can truly flourish, echoing your passion in every note.