
A DJ controller’s buttons and controls help you navigate, mix, and shape your sound. The Play button starts and stops tracks, Cue prepares the next song, and Sync automatically beatmatches your music for smooth progressions. Jog wheels and pitch faders fine-tune your timing, while EQs and filters sculpt your sound. Samplers, effects, and loops add creativity and excitement. Mastering these functions boosts your confidence, so keep exploring to become a skilled DJ.
Key Takeaways
- Play buttons start or stop tracks, helping with timing and beatmatching.
- Cue buttons preview tracks without playing them aloud for preparation.
- Sync buttons automatically match beats for seamless transitions.
- Knobs, jog wheels, and pitch faders fine-tune sound, tempo, and pitch during mixing.
- Effects, loops, and filters shape sound and add creative elements to your set.

Numark Mixtrack Platinum FX Serato DJ Controller with Jog Wheel Displays, 4 Decks, Mixer, Effects Paddles and Audio Interface
Complete Serato DJ System – DJ Controller for Serato DJ Lite (Included) with 4 decks of control, built-in…
As an affiliate, we earn on qualifying purchases.
As an affiliate, we earn on qualifying purchases.
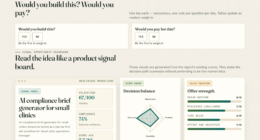
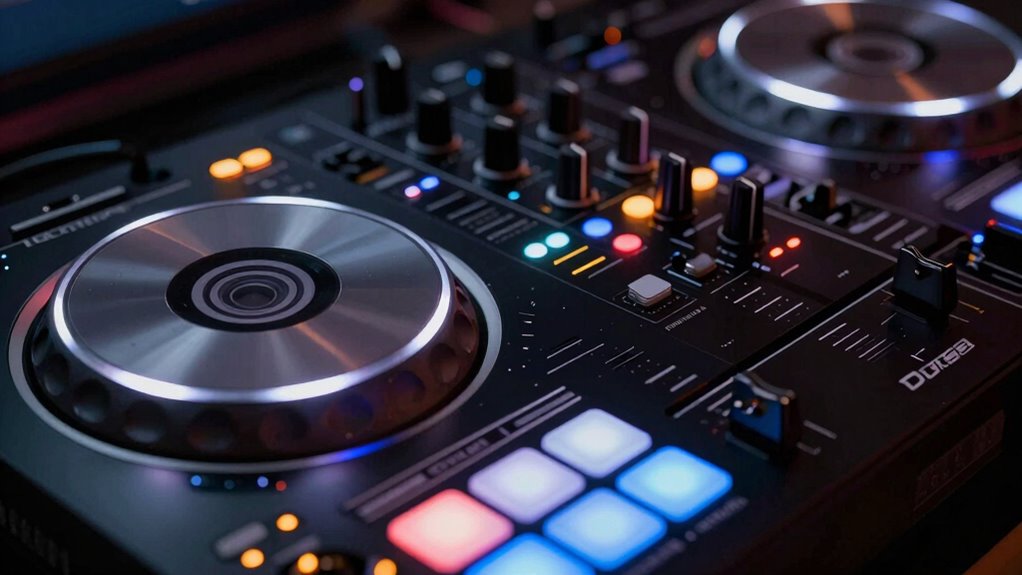
Get to Know Your DJ Controller: Key Components and How They Work
Understanding the key components of your DJ controller is essential for mastering its functions. You’ll want to pay attention to controller ergonomics, as a well-designed layout helps you navigate controls comfortably and efficiently during performances. The placement of knobs, jog wheels, and buttons impacts your ability to perform seamless mixes. Proper controller setup can prevent technical issues during your sets and extend the lifespan of your equipment. Additionally, understanding hardware compatibility ensures your setup integrates smoothly with various devices and software, reducing potential frustrations. Connection options are equally important—they determine how you link your controller to your computer or external devices. Look for versatile ports like USB, MIDI, or audio outputs that suit your setup. Familiarizing yourself with these core components allows you to operate your controller confidently and intuitively, reducing mistakes and increasing your control over the music. Recognizing the importance of connectivity options can help you adapt to different performance environments and expand your creative possibilities. Effective cable management techniques can also help maintain a clutter-free workspace and prevent accidental disconnections. Mastering both ergonomics and connection options sets a solid foundation for your DJing journey.

Pioneer DJ DDJ-FLX4 2-deck Rekordbox and Serato DJ Controller – Graphite
COMPATIBLE WITH A HOST OF DEVICES – The DDJ-FLX4 is compatible with a wide range of devices, including…
As an affiliate, we earn on qualifying purchases.
As an affiliate, we earn on qualifying purchases.
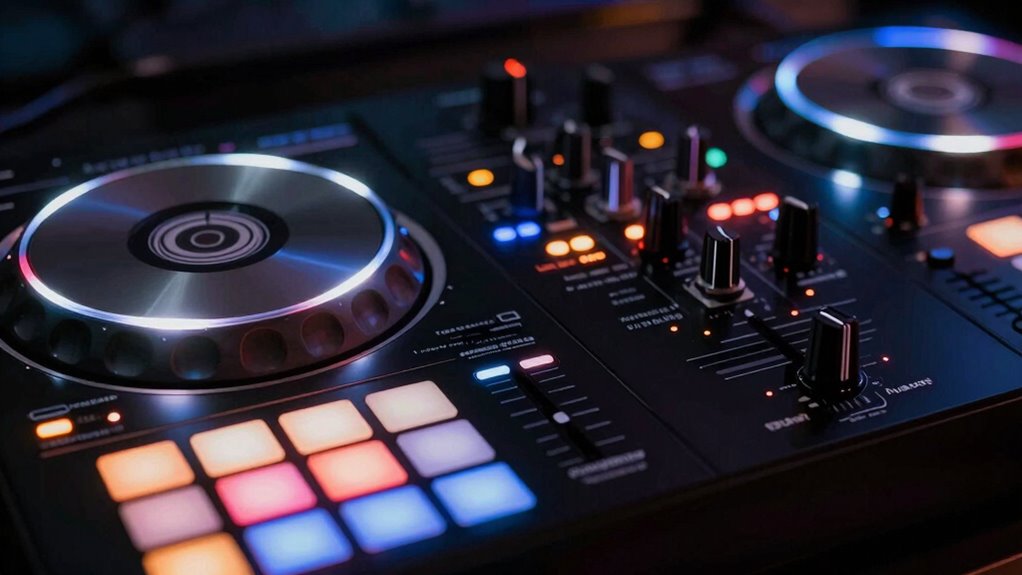
How Do Play, Cue, and Sync Buttons Help You Mix?
The Play, Cue, and Sync buttons are essential tools that help you control your mix smoothly. The Play button starts and stops tracks, while the Cue button lets you prepare the next song without playing it aloud. The Sync button automatically matches the beats of two tracks, making it easier to stay perfectly in time. Additionally, understanding how to detect passive voice in your writing can improve clarity and engagement. Knowing how outdoor cooling fans work can also enhance your comfort during hot weather. Being familiar with DJ controller functions helps you utilize these buttons more effectively during your sets, especially when managing home safety features that ensure your setup remains secure. Recognizing basic audio signal flow can further streamline your mixing process and prevent technical issues.
Play Button Functionality
Play, cue, and sync buttons are essential tools that help you control and refine your mix. The play button starts or pauses the track, allowing you to focus on timing and beatmatching. Proper cable management guarantees your setup remains organized, preventing accidental disconnections that could disrupt your performance. As you manipulate these buttons, you can also coordinate lighting controls to synchronize visual effects with your music, enhancing the overall experience. The cue button lets you preview a track without playing it aloud, so you can prepare your next move smoothly. Meanwhile, the sync button automatically aligns beats between tracks, making transitions seamless. Mastering these functions helps you maintain a steady rhythm and keeps your mix engaging from start to finish.
Sync Button Benefits
Using the sync button simplifies your mixing process by automatically matching the beats of two tracks, so you can focus on creative shifts instead of manual beatmatching. It helps you maintain a consistent tempo, reducing the need for constant tempo adjustment. With sync, you can quickly set cue points and transition smoothly between songs. This feature allows you to experiment with different mixes without worrying about timing issues. Plus, it gives you more confidence to focus on effects, EQ, and other creative elements.
- Keeps tracks in perfect sync for seamless transitions
- Frees you from manual beatmatching, saving time
- Enhances your ability to experiment with cue point setting
- Ensures consistent tempo during live sets
- Makes layering tracks easier, even with complex mixes

Hercules DJControl Inpulse 500: 2-deck USB DJ controller for Serato DJ and DJUCED (included)
2-Deck Usb Dj Controller With Built-In Audio Interface And Hardware Input Mixer For Audio Inputs
As an affiliate, we earn on qualifying purchases.
As an affiliate, we earn on qualifying purchases.
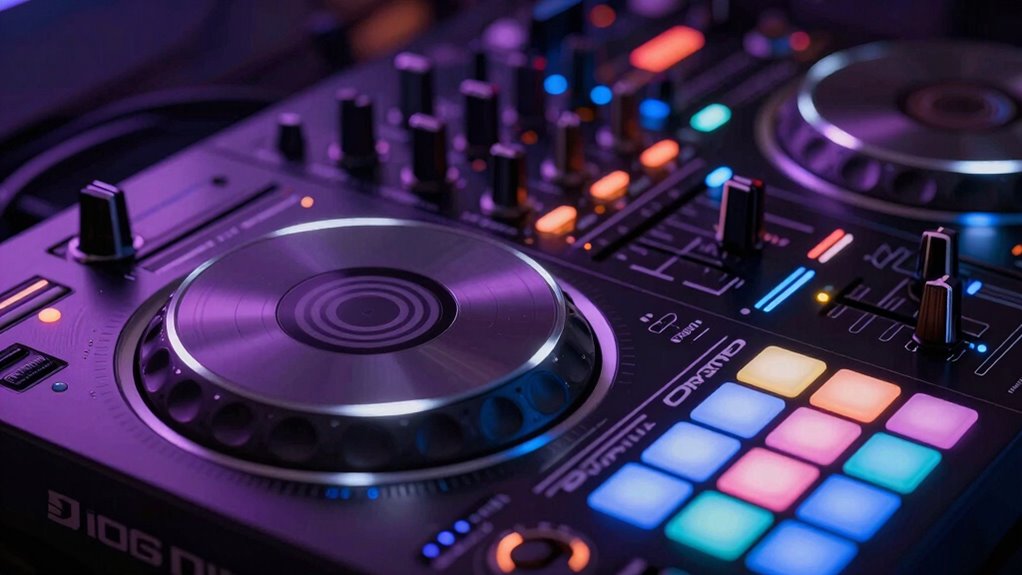
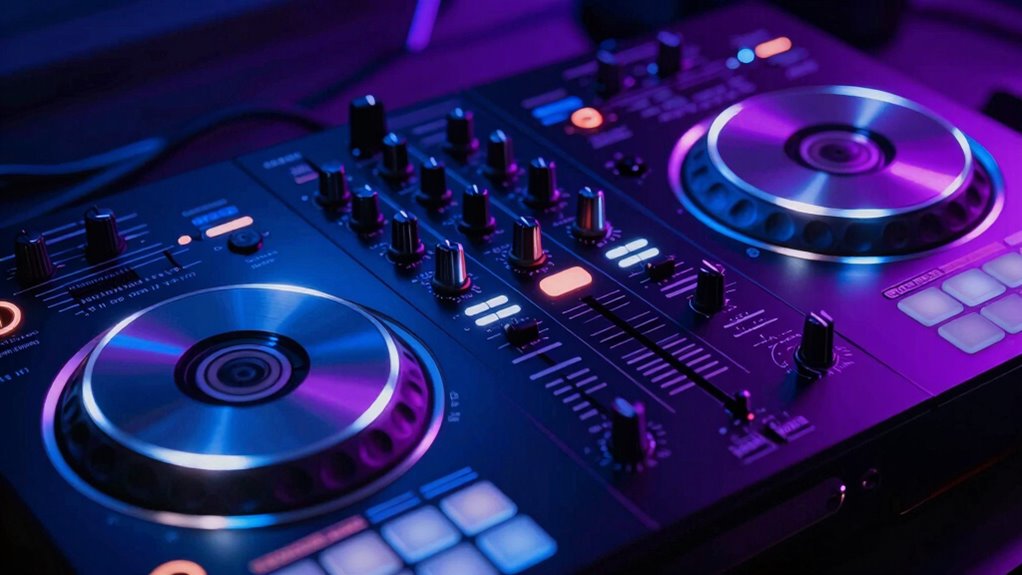
Navigating Jog Wheels and Pitch Faders for Precise Mixing
Mastering your jog wheels and pitch faders is key to precise mixing. Adjusting jog wheel sensitivity helps you control scratches and nudges smoothly, while using pitch faders effectively keeps your tracks in sync. When you sync correctly, shifts feel seamless and professional. Paying attention to music lyrics and emotional cues can also enhance your ability to read the energy of a track and improve your mixing flow. Additionally, understanding different controller configurations can help optimize your workflow for various mixing styles. Recognizing how projector contrast ratios influence visual clarity can also inspire you to fine-tune your setup for a better viewing experience. Properly selecting body jewelry measurements and materials ensures comfort and minimizes irritation during extended sessions, which can improve your overall focus and performance. Incorporating seasonal astrophotography techniques can further elevate your creative projects by matching your gear settings to the optimal conditions.
Jog Wheel Sensitivity Settings
Adjusting jog wheel sensitivity is essential for precise navigation and control during your DJ set. Proper sensitivity adjustments help you perform accurate cueing, scratching, and track browsing. Start with jog wheel calibration to ensure your controller recognizes your movements correctly. Then, tweak sensitivity settings to match your style—more sensitive for quick scratches, less for smooth navigation. Many controllers let you customize these settings via software or hardware controls.
- Fine-tune sensitivity to avoid overshooting cues
- Balance jog wheel feedback for natural feel
- Use calibration to eliminate lag or drift
- Adjust sensitivity for different track tempos
- Test changes with real-time navigation
Using Pitch Faders Effectively
Pitch faders and jog wheels work together to give you precise control over your mixes. To do this effectively, guarantee your pitch fader calibration is accurate; a misaligned fader can throw off your key changes and beatmatching. Practice fader fade techniques, like smooth transitions, by gradually nudging the pitch to align tracks seamlessly. Use the pitch fader to correct tempo discrepancies, but avoid abrupt adjustments that can disrupt your mix. When calibrating, check that zero position is true zero, so you’re not unintentionally speeding up or slowing down. Controlled, deliberate movements with your pitch fader help maintain a steady beat and avoid pitch wobble. Proper calibration and consistent technique are essential for maintaining tempo stability during your sets. Mastering these controls ensures your transitions sound professional and polished, giving your mixes a flawless, cohesive flow.
Syncing for Precise Transitions
To achieve seamless handoffs, you need to coordinate your jog wheels and pitch faders with precision. Mastering beatmatching techniques involves fine-tuning these controls to align tracks perfectly. Use the jog wheels to make small adjustments, nudging the track into sync without losing momentum. The pitch faders help you match tempos smoothly, ensuring a steady rhythm. Effective cue point management guides your changes, allowing you to anticipate shifts and prepare your next move. Keep these tips in mind:
- Make small jog wheel adjustments for micro-timing corrections
- Use pitch faders gradually to avoid abrupt tempo shifts
- Set cue points at strategic locations for quick access
- Listen carefully to the beat alignment before switching
- Practice syncing tracks to develop a natural sense of timing
This focused approach ensures precise, professional transitions every time.
Pioneer DJ DDJ-FLX4 2-deck Rekordbox and Serato DJ Controller – Graphite
COMPATIBLE WITH A HOST OF DEVICES – The DDJ-FLX4 is compatible with a wide range of devices, including…
As an affiliate, we earn on qualifying purchases.
As an affiliate, we earn on qualifying purchases.
Mastering EQ and Filters to Shape Your Sound
Mastering EQ and filters is essential for shaping your sound and making your mixes stand out. EQ adjustments allow you to boost or cut specific frequencies, helping you clean up muddiness or add brightness. Use the filter controls to isolate or remove certain parts of the sound, creating smooth transitions or dramatic effects. As you manipulate these controls, pay attention to how they impact the overall balance of your track. Subtle EQ tweaks can enhance clarity, while more aggressive filter sweeps can build energy or create tension. Practice using both EQ adjustments and filter controls together to craft a polished, professional sound. Remember, small changes often have a big impact, so experiment to find the perfect tonal balance for your set. Incorporating proper sound shaping techniques can make a significant difference in your mixes. Understanding how frequency ranges interact can further refine your adjustments and improve your overall mix clarity. Additionally, being aware of the role of harmonic content can help you achieve a more cohesive and rich sound. Developing an intuitive sense of frequency masking can also help you make more precise EQ choices to avoid muddiness and maintain clarity. Exploring dynamic processing alongside EQ and filters can further enhance your control over the mix and add additional depth.
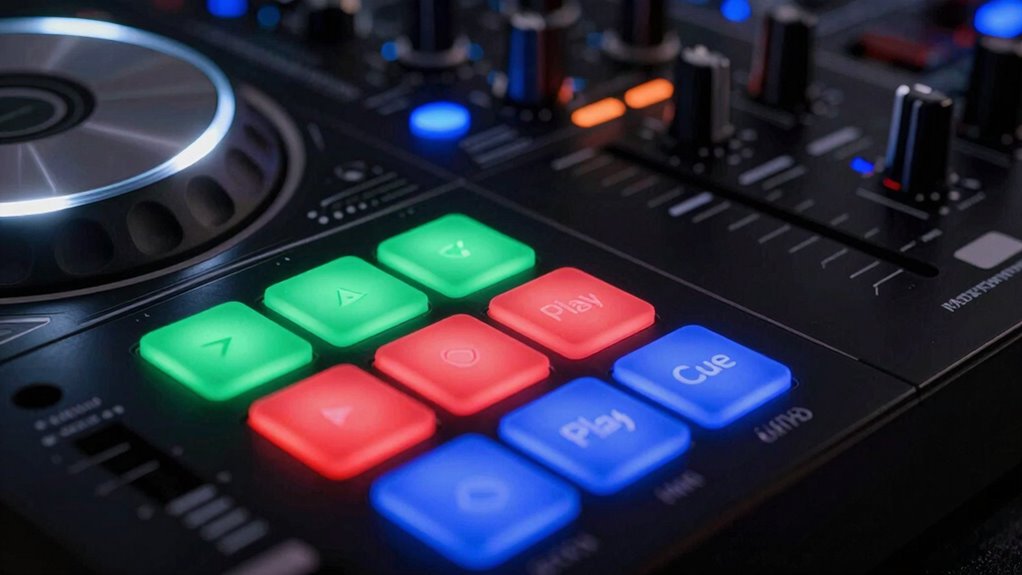
How Samplers and Pads Can Enhance Your DJ Sets
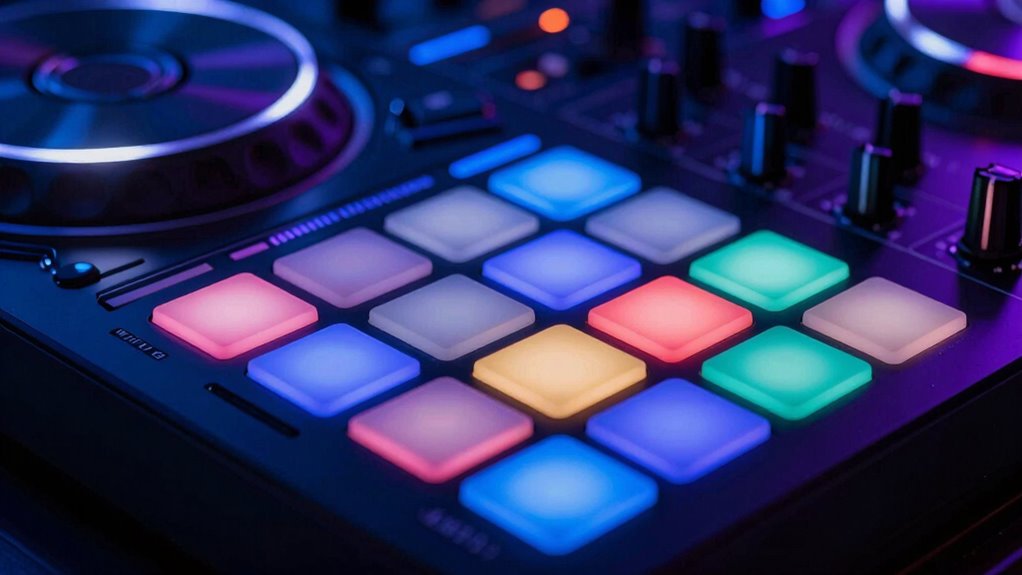
After fine-tuning your EQ and filters to shape your sound, adding live elements can elevate your DJ performance. Samplers and pads allow you to trigger samples on the fly, adding layers and textures to your mix. With pad customization, you can assign different sounds or effects to each pad for quick access during your set. This boosts your creativity and spontaneity. You can incorporate vocal snippets, drum hits, or atmospheric sounds seamlessly. Using sample triggering, you can respond to the crowd or build anticipation. Additionally, customizing pads guarantees your setup matches your style. Here are some ways samplers and pads can enhance your set:
Adding live samples and customized pads boosts creativity and energizes your DJ sets.
- Trigger loops and samples instantly
- Add live sound effects
- Create unique transitions
- Layer multiple sounds effortlessly
- Personalize your pad layout for quick access
- Understanding temperature treatments can help you incorporate effects that influence the feel and energy of your set. Moreover, paying attention to your heart rate variability (HRV) can provide insights into your recovery and overall performance readiness, ensuring you’re at your best during your sets.
Applying Effects and Loops to Elevate Your Performance
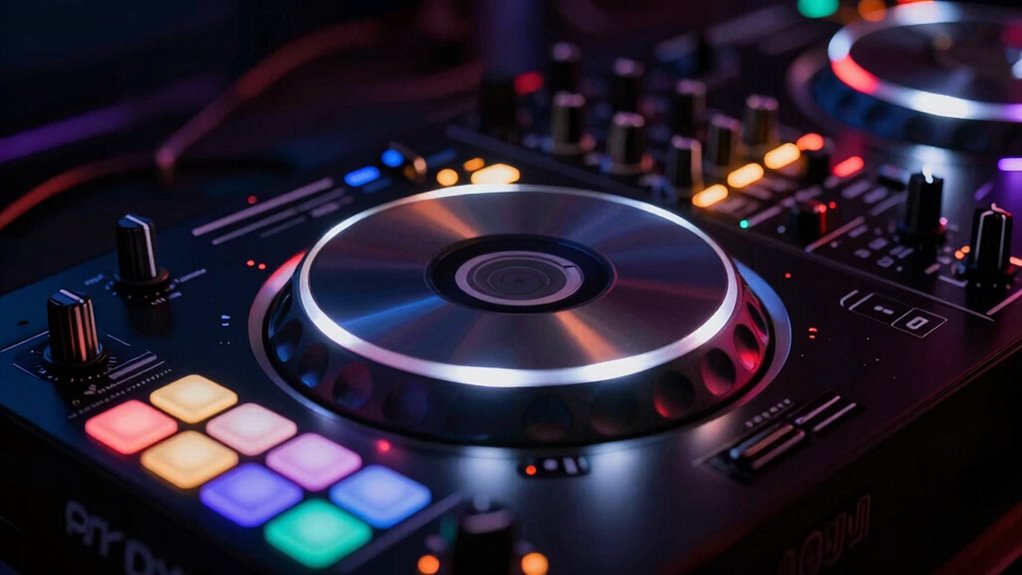
Applying effects and loops can instantly transform your DJ set from basic to dynamic, adding movement and energy to your performance. Visual effects like filters, echoes, and reverb create immersive soundscapes that keep your audience engaged. Looping techniques allow you to repeat specific sections, building tension or seamlessly blending tracks. Use effects sparingly to highlight transitions or create moments of excitement, but avoid overdoing it. Practice timing your effects to match the rhythm of your tracks for maximum impact. Experiment with different looping lengths to develop unique build-ups or breakdowns. Incorporating these tools helps you craft a more polished and engaging set, giving your performance a professional edge. Mastering effects and loops open up new creative possibilities and keeps your audience hooked.
Tips for Practicing Button Techniques and Building Confidence
Practicing button techniques regularly helps you gain confidence and develop precision in your DJ performances. Focus on mastering each button’s function to improve your musical phrasing and stage presence. Consistent practice allows you to anticipate sounds and progressions smoothly, making your sets more engaging. To build confidence:
- Break down complex sequences into smaller steps
- Use a metronome to maintain timing
- Record your practice to identify areas for improvement
- Experiment with different button combinations
- Perform in front of a mirror or record yourself to boost stage presence
Frequently Asked Questions
What Safety Precautions Should I Take When Using a DJ Controller?
When using a DJ controller, you should prioritize safety by wearing appropriate safety gear, like ear protection if needed, and ensuring your workspace is dry to avoid electrical hazards. Always check that your equipment is properly grounded to prevent electrical shocks. Keep cables organized to prevent tripping, and avoid using your controller near water or in wet conditions. These precautions help protect you and keep your setup running smoothly.
How Do I Troubleshoot Common Issues With DJ Controllers?
When troubleshooting your DJ controller, think of it as a superhero battling chaos! Start by troubleshooting connection issues—check cables and USB ports like a detective. For resolving audio issues, make certain your drivers are up-to-date and sound settings are correct. Restart your controller and software—sometimes, a quick reboot is all it takes. Stay calm, be patient, and you’ll conquer these glitches faster than you can drop a beat!
Can I Customize Button Functions on My DJ Controller?
Yes, you can customize button functions on your DJ controller through controller mapping. Most software allows you to assign different functions to buttons, giving you more control over your setup. To do this, access your DJ software’s settings and look for the controller mapping or MIDI mapping options. This way, you can tailor button functions to suit your style, making your performances more intuitive and personalized.
What Are the Best Practices for Cable Management and Setup?
You should prioritize cable organization to keep your setup neat and efficient. Use cable ties or Velcro straps to bundle cords together, reducing clutter and preventing tangles. Label each cable for quick identification, and route them away from foot traffic to avoid accidents. Proper cable management enhances setup efficiency, making setup and breakdown faster. Always test your connections before a gig to ensure everything is secure and functioning correctly.
How Do I Update Firmware or Software for My DJ Controller?
You’re right on the money—keeping your DJ controller up-to-date is essential. To update firmware or software, visit the manufacturer’s website, download the latest firmware updates, and follow the instructions for your specific model. Usually, you’ll need to connect your controller to your computer, run the software installation, and make certain it’s properly recognized. Don’t rush—this process ensures smooth performance and keeps you ahead of the game.
Conclusion
Now that you know what each button does, you’re ready to take your DJ skills to the next level. With practice, those controls become second nature, and your mixes will sound more seamless and professional. Imagine the crowd’s energy as you navigate your controller with confidence—can you see yourself blending tracks effortlessly? Keep experimenting, stay curious, and let your creativity shine through every button press. Your next great set is just a beat away.