
If your records sound bad, it’s usually due to dirt, scratches, static, or improper setup. First, inspect and clean your records carefully with a vinyl-specific cleaner or DIY solution. Check your stylus and cartridge for wear and replace if needed. Make sure your tonearm is correctly aligned, balanced, and that tracking force and anti-skate are set properly. Optimizing your environment and maintaining your equipment can make a big difference—keep exploring to learn more tips to improve your sound quickly.
Key Takeaways
- Dirt, dust, scratches, and static on records cause unwanted noise and degrade sound quality.
- Improper cleaning and storage lead to dust buildup and warping, affecting playback.
- Worn or damaged stylus and cartridges cause distortion, skips, and loss of detail.
- Incorrect cartridge alignment and tracking force increase record wear and audio issues.
- External noise and poor environment setup can interfere with clear, high-quality vinyl playback.
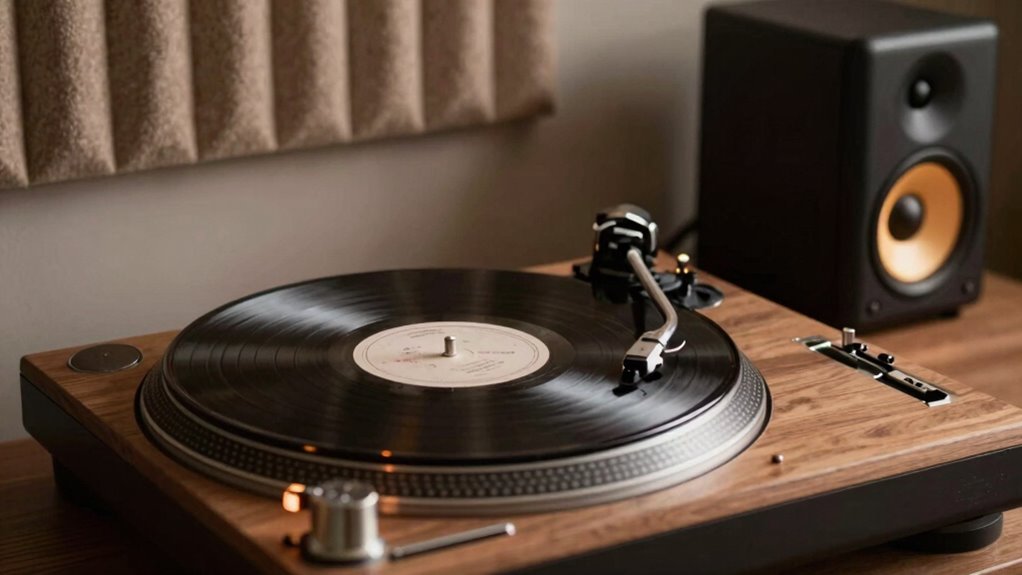
Why Does My Vinyl Record Sound Bad and How Can I Fix It?
If your vinyl record sounds bad, the problem often comes down to dirt, scratches, or static. Poor record storage can cause dust and debris to settle on your vinyl, leading to unwanted noise. Using the right vinyl accessories, like a carbon fiber brush or anti-static sleeves, helps keep your records clean and static-free. Scratches are another common culprit; they can’t be fixed but can be minimized with proper handling and storage. Always handle records by the edges to avoid fingerprints. Investing in quality record storage prevents warping and damage, ensuring your vinyl stays in good condition. Regularly inspecting your records and keeping them properly stored is key to maintaining excellent sound quality and prolonging their lifespan. Additionally, understanding the importance of Free Floating in maintaining record quality can help prevent warping and other issues caused by improper storage conditions.
How to Check and Clean Your Vinyl Records for Better Sound

Before cleaning your records, check for any visible damage that could affect sound quality. Use proper cleaning techniques and select the right supplies to avoid harm and guarantee a thorough clean. Taking these steps will help improve your listening experience and preserve your vinyl collection. Additionally, understanding the importance of record maintenance can extend the lifespan of your records and ensure optimal sound performance. Regularly inspecting and addressing cable failures and ensuring your turntable is properly mounted and level can also prevent issues that compromise sound quality. Incorporating measurement tools such as precise level gauges can help ensure your equipment is correctly set up to maintain the best sound, especially since home theatre projectors often rely on accurate setup for optimal image and sound quality.
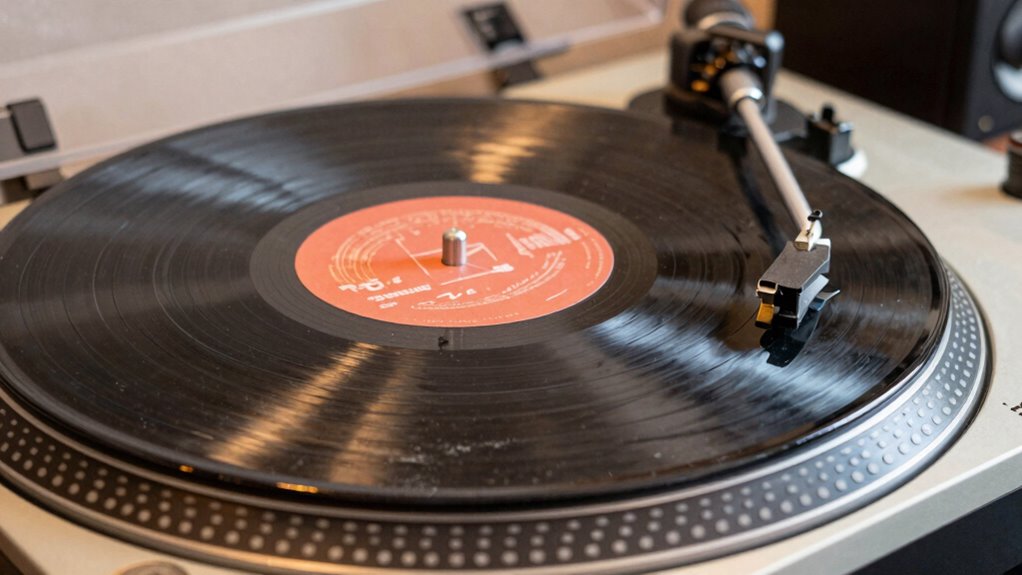
Inspect for Damage
Inspecting your vinyl records for damage is an essential step in ensuring the best possible sound quality. Carefully examine your records for handling scratches that can cause pops and skips, and inspect for warps that can distort playback. Look closely at the surface under a bright light, feeling for any unevenness or warping. Check the edges for chips or cracks that could damage your stylus. Handle the record gently to avoid adding new scratches. Keep an eye out for dirt or debris that may hide imperfections. Remember, even small damage can considerably impact sound quality. By thoroughly inspecting your records, you can identify issues early and prevent further damage, ensuring your vinyl collection sounds as good as it should. Regularly clean and maintain your records to preserve their sound quality and longevity. Proper storage and handling are also crucial components of vinyl record care, helping to keep your collection in top condition.
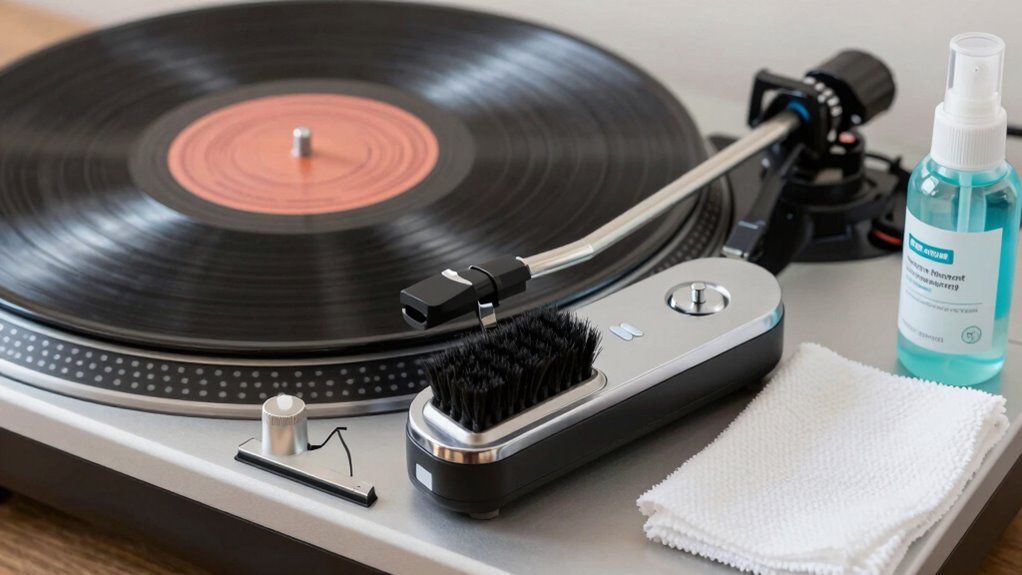
Proper Cleaning Techniques
After inspecting your records for damage, it’s time to focus on cleaning them properly to guarantee ideal sound quality. Start by gently removing dust and dirt from the surface using a soft brush or microfiber cloth. Avoid harsh scrubbing that could cause groove damage. For thorough cleaning, use a record cleaning solution designed for vinyl, making sure to rinse away any residue. Always dry your records with a lint-free cloth, handling them by the edges. Regular cleaning helps prevent dust buildup that can affect sound quality and cause stylus replacement sooner. Proper cleaning also reduces the risk of debris getting into the grooves, which can distort playback. Using proper storage techniques further protects your records from dust and scratches. Consistent care ensures your records stay in top shape, delivering clearer sound and extending their lifespan.
Use Correct Cleaning Supplies
Using the right cleaning supplies is essential to protect your records and guarantee best sound quality. Proper cleaning prevents dirt and grime from damaging your vinyl and ensures the best listening experience. Always use gentle, record-specific cleaning solutions and soft cloths or brushes designed for vinyl accessories. Avoid household cleaners that can leave residues or harm the record’s surface. Check your record storage to verify it’s dust-free before cleaning, and handle records by the edges to prevent oils from your fingers. When selecting cleaning supplies, choose products that are safe, effective, and gentle. Investing in quality vinyl accessories makes a big difference. Remember, a clean record is a happy record, delivering crisp sound and preserving your collection’s longevity.
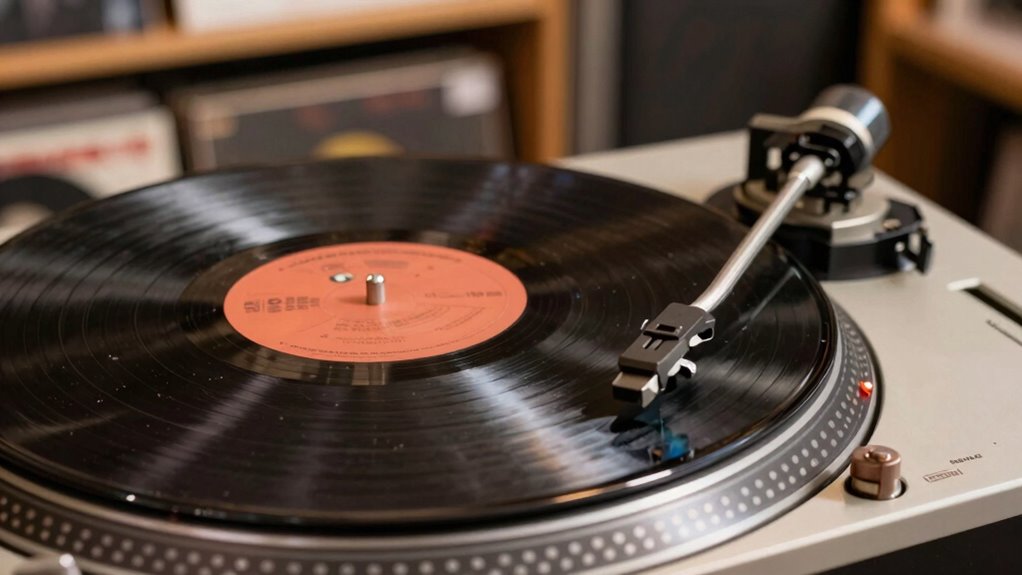
Signs Your Stylus or Cartridge Are Worn Out and Need Replacing

Over time, your stylus and cartridge naturally wear out, which can lead to a decline in sound quality. To spot issues early, perform regular stylus inspection—look for visible wear, a bent or damaged tip, or accumulated debris. If the stylus appears worn or damaged, it’s a sign you need a replacement. Cartridge testing can also reveal problems; if you notice distortion, loss of detail, or a decrease in volume, it may indicate your cartridge isn’t functioning at its most suitable level. Keep an ear out for skipping or excessive background noise, which often point to wear. Additionally, specialized audio gear such as stylus force gauges and test records can help you accurately assess your equipment’s condition. Regularly monitoring your setup and understanding the high-tech innovations in audio equipment can also assist in maintaining optimal sound quality. Using proper maintenance practices, like cleaning your stylus regularly, can extend the life of your cartridge. Incorporating advanced diagnostic tools can further help detect early signs of wear before they affect sound quality. Implementing eco-friendly materials in your audio setup can also contribute to a more sustainable listening environment. Replacing a worn stylus or cartridge restores clarity and detail, ensuring your records sound their best. Regular checks help catch wear early, saving you from more significant audio issues down the line.
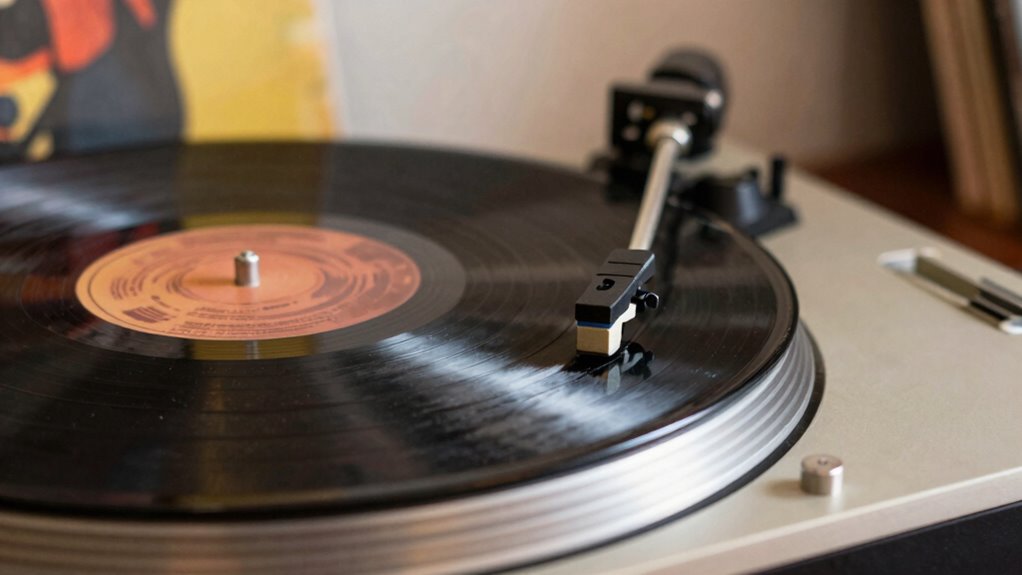
How to Properly Align Your Cartridge and Balance Your Tonearm
To get the best sound from your turntable, you need to properly align your cartridge and balance your tonearm. Proper cartridge alignment ensures your stylus tracks the record groove precisely, reducing distortion and wear. Cartridge alignment is crucial for optimal audio performance and preserving your records over time. When the cartridge is correctly aligned, it minimizes tracking error, leading to clearer sound and less record damage. Tonearm balancing prevents uneven pressure that can damage records or stylus. Gently set the counterweight at the back of the tonearm and balance the tonearm so it floats effortlessly, with no downward or upward pressure. Double-check alignment and balance regularly to maintain peak performance. Regularly maintain your equipment to ensure consistent sound quality and longevity. Getting these steps right means richer sound, longer-lasting equipment, and a more immersive listening experience.
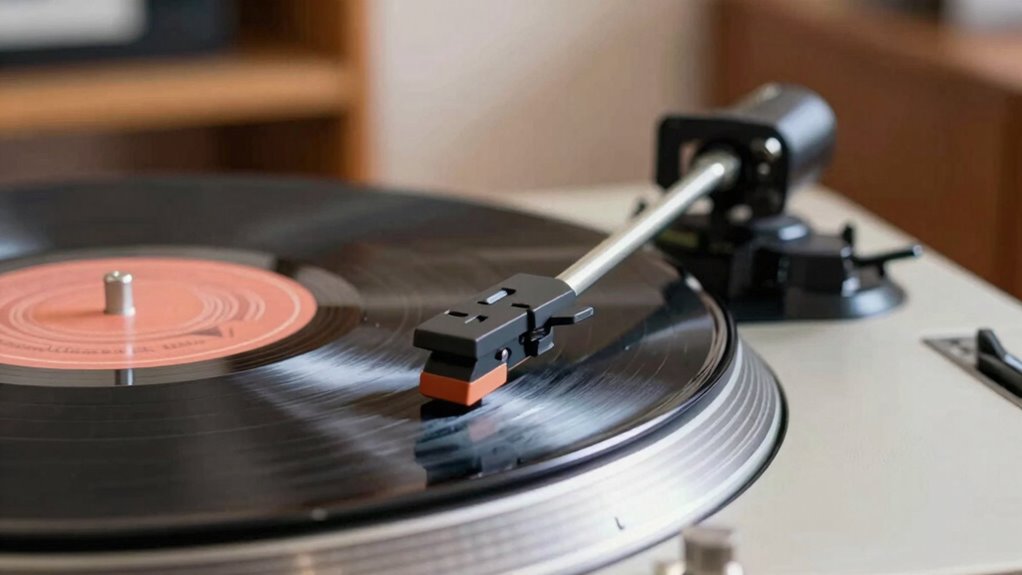
Adjust Your Tracking Force and Anti-Skate for Optimal Playback
Achieving the best sound quality requires setting your tracking force and anti-skate correctly, as these adjustments directly influence how your stylus interacts with the record groove. Start by carefully adjusting the tracking force to match your cartridge manufacturer’s recommended weight. Too much force can cause excessive wear and distortion, while too little results in skipping and poor tracking. Next, set the anti-skate to counteract the inward pull of the tonearm, ensuring the stylus tracks evenly across the groove. Proper anti-skate balance prevents uneven wear and maintains consistent sound quality. Use a test record or a tracking force gauge to fine-tune both settings. When correctly adjusted, your stylus will glide smoothly, and your records will sound clearer, more detailed, and less prone to skipping or distortion. Regularly checking and adjusting your tonearm settings helps maintain optimal playback performance over time. Maintaining proper tracking force and anti-skate is essential for preserving your records and cartridge longevity. Additionally, understanding how stylus pressure impacts record wear can help you avoid unnecessary damage.
When and How to Replace Your Stylus and Cartridge Components
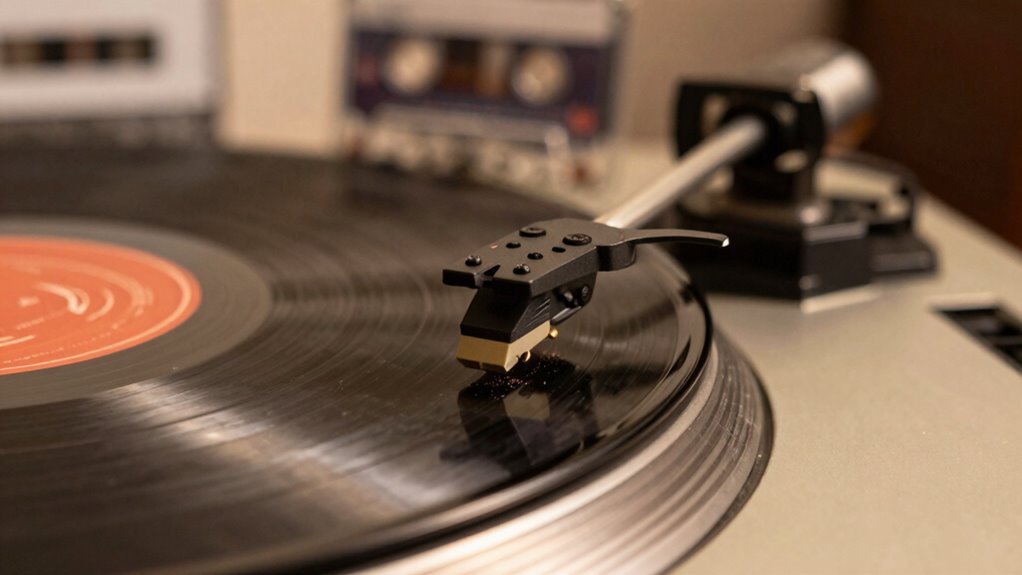
You’ll need to replace your stylus or cartridge components when you notice signs of wear, like distortion or a decline in sound quality. Knowing the right timing helps protect your records and guarantee ideal playback. Keep an eye out for these signs to decide when it’s time for a replacement. Additionally, replacing components at appropriate intervals can help maintain your turntable’s performance and prolong the lifespan of your equipment style maintenance. Regular inspection of stylus health can help detect early wear before it affects your listening experience. Proper protective gear can also prevent accidental damage during handling and replacement.
Signs of Wear
Over time, signs of wear on your stylus and cartridge components become increasingly evident, affecting sound quality and record preservation. You may notice distorted sound, skipping, or increased surface noise—clear signs of record wear and stylus damage. Ignoring these indicators can lead to permanent record damage and poor listening experiences. Be alert for:
- Faint or distorted audio
- Skipping or mistracking
- Excessive surface noise
- Visible stylus wear or damage
- Reduced dynamic range
If you notice any of these symptoms, it’s a sign that your stylus and cartridge are no longer performing at their best. Addressing wear early ensures your records stay in good shape and your sound remains crisp and clear. Regular checks can save you from costly repairs later.
Replacement Timing
Knowing when to replace your stylus or cartridge is essential for maintaining ideal sound quality and record care. Typically, a stylus should be replaced after about 500 to 1,000 hours of use, or roughly every year if you listen frequently. Signs of wear, like distortion or loss of detail, indicate it’s time for stylus replacement. Upgrading your cartridge can also enhance sound and longevity; consider a cartridge upgrade if you notice persistent issues or want improved performance. Regular inspections help determine if the stylus tip is worn or damaged. Don’t wait for sound quality to decline considerably — timely stylus replacement ensures your records sound their best and prevents damage to your vinyl. Keeping track of usage and performing routine checks will keep your setup in top shape.
How to Optimize Your Listening Environment to Minimize Noise
Creating an ideal listening environment involves more than just choosing the right equipment; it also requires minimizing external noise that can interfere with your vinyl experience. You can do this by applying effective soundproofing techniques to block out unwanted sounds. Proper speaker placement is essential—position your speakers away from walls and noise sources to enhance clarity. Consider sealing gaps in windows and doors to prevent sound leaks. Use rugs, curtains, and soft furnishings to absorb ambient noise. Keep your turntable away from noisy appliances and electronics. By controlling your environment, you’ll enjoy cleaner sound and richer details, making every record sound its best. Small adjustments can make a big difference in transforming your space into a haven for pure, immersive vinyl listening.
Deep Cleaning Tips: Record Cleaning Machines and DIY Methods
A clean record makes a noticeable difference in sound quality, whether you’re using a record cleaning machine or tackling it with DIY methods. For deep cleaning, invest in a good record cleaning machine that uses specialized record cleaning solutions to remove deep-seated dirt and grime. These machines typically involve vacuuming or spinning the record through cleaning solutions, providing a thorough clean. If you prefer DIY cleaning methods, start with a gentle mixture of distilled water and isopropyl alcohol, combined with a few drops of dish soap. Use a microfiber cloth or a dedicated cleaning brush to gently scrub the record in a circular motion, then rinse with distilled water. Regular deep cleaning with effective record cleaning solutions or DIY methods can markedly improve sound clarity and reduce unwanted noise.
When to Seek Professional Help or Replace Old Records
Over time, even well-maintained records can accumulate dirt, scratches, or warping that affect sound quality. If you’re noticing persistent skips, distortion, or loss of detail, it might be time to seek professional help or consider replacing old records. Handling a rare record with sentimental value or significant investment calls for expert assessment to prevent further damage. Poor record storage can worsen issues, so addressing problems early saves you money and preserves your collection. Watch for these signs:
- Persistent crackles despite cleaning
- Visible warping or warping-induced skipping
- Deep scratches that catch your needle
- Unusual surface noise after cleaning
- Concerns about the record’s stability or value
When in doubt, consult a professional to restore or evaluate your records, especially rare ones, before deciding to replace them.
Frequently Asked Questions
What Causes Static and How Can I Reduce It on My Records?
Static on your records is caused by static electricity building up, often from dust buildup and handling. To reduce it, you can use an anti-static brush before playing, which discharges static and removes dust. Keep your records stored properly in anti-static sleeves, and avoid touching the grooves with your fingers. Using a humidifier in dry environments also helps, since moisture reduces static electricity and dust buildup.
How Does Ambient Temperature Affect Vinyl Playback Quality?
Think of your vinyl like a delicate dance partner—temperature swings can throw it off balance. When ambient temperature fluctuates, it affects playback quality by causing the vinyl to expand or contract, leading to warps or skips. Maintaining temperature stability and controlling ambient humidity helps guarantee smooth, consistent sound. Keep your records in a climate-controlled environment to preserve their sound quality and prevent damage caused by temperature-related issues.
Can Different Cleaning Solutions Damage My Records?
Yes, using the wrong record cleaning chemicals can damage your records. Some chemicals contain harsh ingredients that may cause warping or degrade the vinyl surface, leading to record damage prevention issues. To keep your records in top shape, always choose gentle, approved cleaning solutions specifically made for vinyl. Avoid household cleaners, and always follow the manufacturer’s instructions to prevent potential damage and guarantee ideal sound quality.
What’s the Best Way to Store Vinyl Records Long-Term?
Your vinyl collection deserves fortress-like protection! To guarantee long-term storage, follow record storage tips like keeping records upright in a cool, dark place away from direct sunlight and extreme temperatures. Use sturdy, acid-free sleeves and organize your vinyl with clear vinyl organization methods, such as labeled dividers or storage bins. This keeps your records safe from warping, dust, and scratches, preserving their sound quality for decades.
How Do I Know if My Turntable Is Properly Grounded?
To verify if your turntable is properly grounded, listen for sound hum when you play records. If you hear a persistent buzzing or humming, grounding issues are likely. You can fix this by attaching the ground wire from your turntable to the grounding screw on your amplifier or receiver. Make sure the connection is secure; a proper ground prevents sound hum and ensures clear audio quality.
Conclusion
Just like a master craftsman tunes their instrument, taking care of your vinyl setup guarantees your records sing true. Regular cleaning, proper alignment, and timely replacements keep your sound crisp and clear. Think of your turntable as a bridge between past and present—maintaining it preserves the magic of music’s timeless journey. With a little attention, you’ll enjoy rich, distortion-free sound that transports you as effortlessly as a poet’s verse.