An audio interface connects your microphones, instruments, and speakers to your computer, converting analog signals into digital data for high-quality sound. It features inputs like XLR for mics, TRS for instruments, and MIDI for controllers, along with outputs for speakers and headphones. Latency is the delay you experience between playing and hearing your sound, which you can reduce with proper settings. If you want to understand how to optimize these aspects, you’ll find useful details below.
Key Takeaways
- An audio interface connects microphones, instruments, and speakers to computers, converting analog signals into digital data for high-quality recordings.
- Inputs like XLR and TRS carry audio signals, while MIDI ports transmit control data; proper routing ensures clear sound and minimal noise.
- Latency is the delay between playing a note and hearing it; managing buffer size and updating drivers reduces this lag.
- Built-in preamps and phantom power improve recording quality; choose interfaces with features suited to your specific recording needs.
- Proper connectivity, system optimization, and hardware setup are essential for smooth performance and minimizing audio delays.
Top picks for "audio interface input"
Open Amazon search results for this keyword.
As an affiliate, we earn on qualifying purchases.
What Is an Audio Interface and Why Do You Need One?
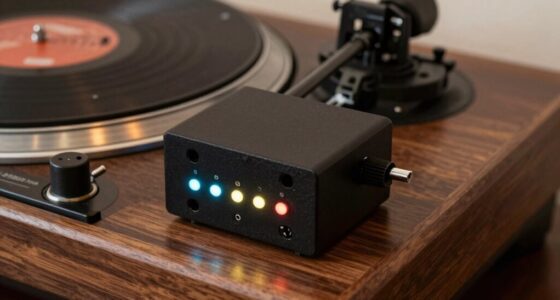
Have you ever wondered how professional recordings capture crystal-clear sound? An audio interface is the key. It connects your microphone, instruments, and speakers to your computer, transforming analog signals into digital data. This device considerably boosts audio quality, ensuring your recordings sound polished and professional. When choosing an audio interface, consider your budget, as options range from affordable models to high-end units with advanced features. Investing in the right interface can make a noticeable difference in sound clarity and reliability. Whether you’re a beginner or a seasoned musician, an audio interface helps you achieve studio-quality sound at home or on the go. Don’t overlook its importance—it’s essential for capturing, mixing, and producing high-quality audio. Additionally, selecting an interface with low latency ensures real-time monitoring without distracting delays. Furthermore, understanding audio signal conversion can help you optimize your setup for the best possible sound quality. Being aware of interfacing options can also guide you in choosing the most compatible and versatile device for your needs.
How Do Inputs and Outputs Work on an Audio Interface? (XLR, TRS, MIDI & More)
Understanding how inputs and outputs work on your audio interface helps you connect your gear effectively. You’ll encounter different types of connectors like XLR, TRS, and MIDI, each serving specific purposes. Knowing how signal flows and the differences between MIDI and audio inputs makes setting up your setup much easier.
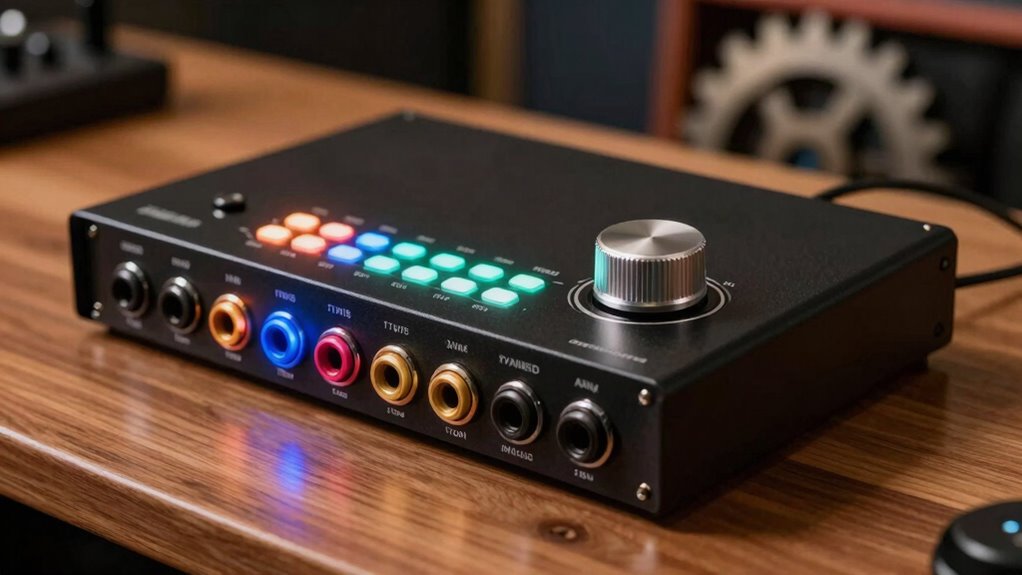
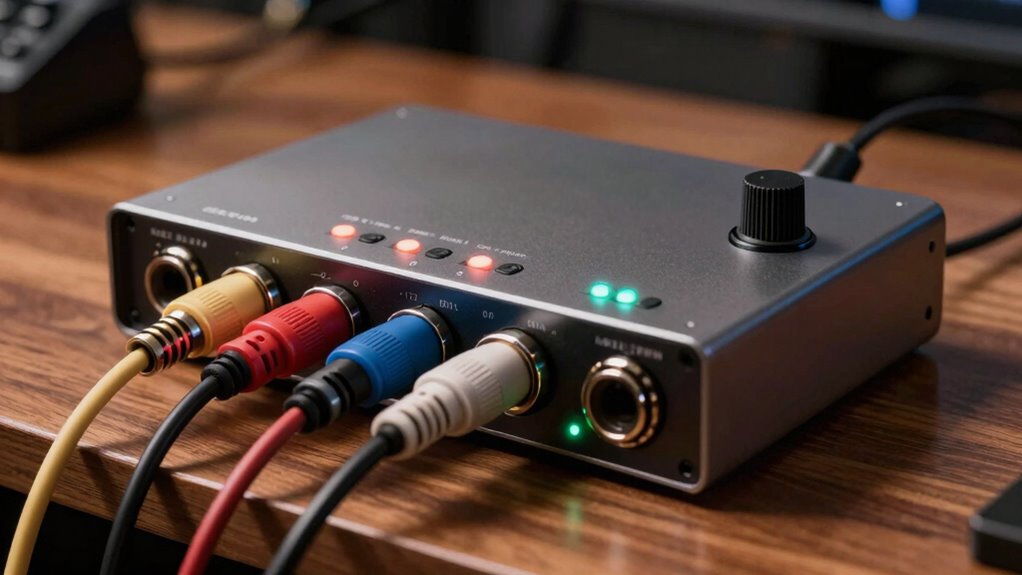
Types of Audio Connectors
Audio interfaces come equipped with a variety of connectors that facilitate seamless communication between your gear and your computer. XLR connectors are standard for microphones, providing balanced audio signals that reduce noise and interference. TRS jacks, on the other hand, handle both balanced and unbalanced connections, making them versatile for instruments and studio monitors. These connectors guarantee high-quality sound transfer and durability. Some interfaces also include MIDI ports for connecting keyboards and controllers, while others feature RCA or TS jacks for consumer audio gear. Understanding these different types helps you select the right connections for your setup. By choosing the appropriate connectors, you ensure ideal sound quality and reliable performance, making your recording experience smooth and professional.
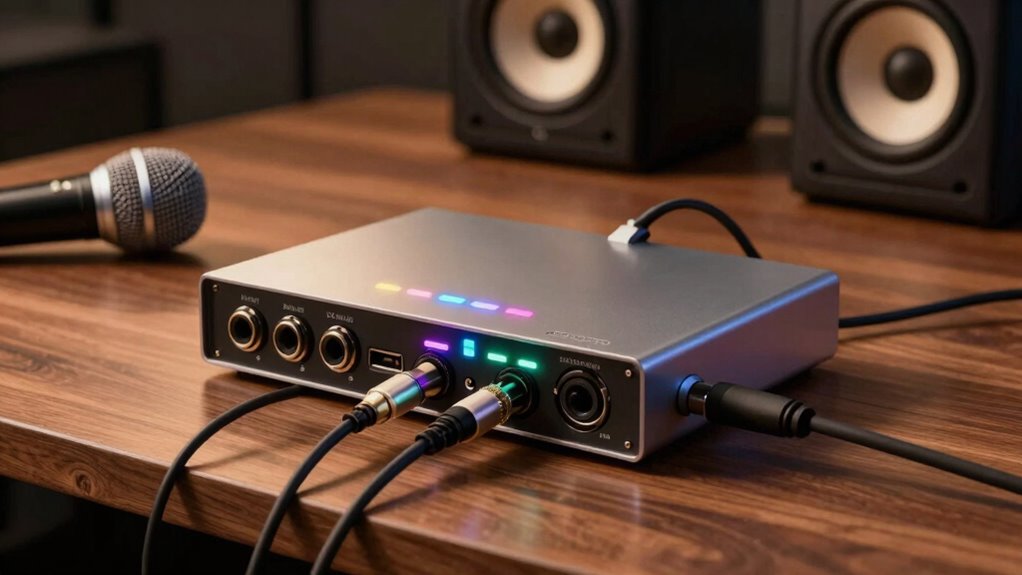
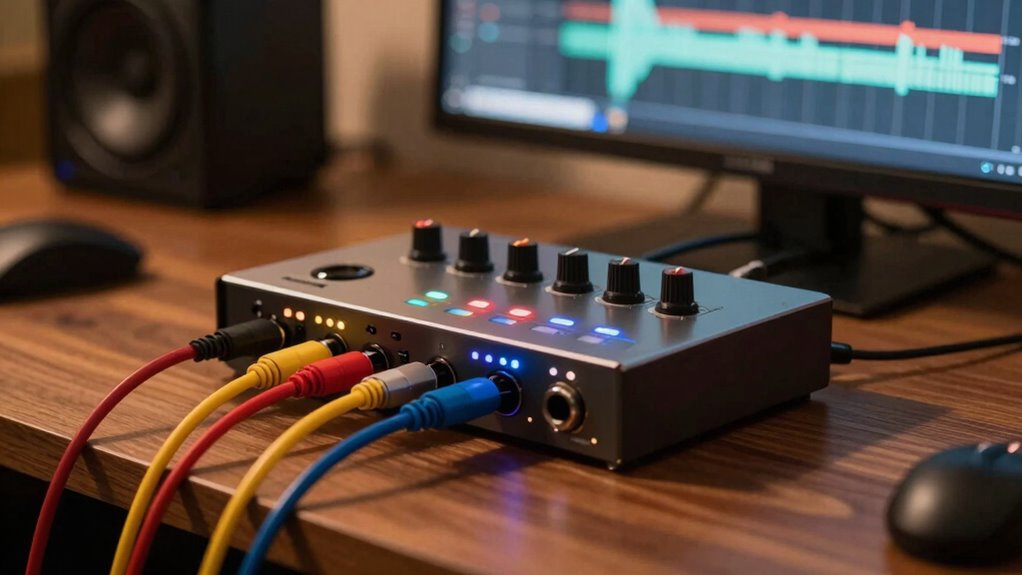
Signal Flow and Routing
Connections on an audio interface determine how your gear communicates with your computer and each other. Signal flow describes the path your audio signals take from input to output, ensuring your recordings and playback work smoothly. Signal routing controls how signals are directed through different channels, allowing you to choose where inputs go and how outputs are distributed. For example, an XLR microphone input sends the analog signal through a specific channel, which can then be routed to your DAW or external monitors. TRS outputs connect speakers or headphones, directing audio from your computer back out. Proper signal flow and routing are essential for managing multiple sources, preventing noise, and ensuring your setup functions as intended. Mastering this helps you achieve clear recordings and seamless playback.
MIDI vs Audio Inputs
Inputs and outputs on an audio interface serve different, essential roles in your recording and playback setup. MIDI inputs and outputs handle MIDI compatibility, enabling you to connect keyboards, controllers, and other devices to send performance data. These data don’t carry audio signals but control information for virtual instruments or hardware gear. Audio inputs, like XLR or TRS jacks, carry the actual audio signal paths from microphones or instruments, converting analog signals into digital data your computer can process. Understanding the distinction helps you choose the right connections for your needs. While MIDI inputs facilitate communication between gear, audio inputs transmit the sound you want to record or play back. Properly utilizing both ensures your setup is versatile and efficient, maintaining clarity between control data and audio signals. Additionally, proper gain staging ensures that signals are at optimal levels, preventing distortion or noise during recording and playback.
What Is Latency and How Does It Affect Your Recordings?
When you’re recording or monitoring music through an audio interface, latency can cause noticeable delays between when you play a note and when you hear it. This digital delay can disrupt your timing and flow, making recording frustrating. To manage latency, you can adjust the buffer size—smaller buffers reduce delay but may strain your system. Larger buffers make processing smoother but increase latency. Imagine this as a table:
| Buffer Size | Delay | System Strain |
|---|---|---|
| Small | Minimal | High |
| Medium | Moderate | Moderate |
| Large | Noticeable | Low |
Choosing the right buffer size balances low latency with system stability. Understanding how digital delay affects your recording helps you optimize your setup for seamless performance. Additionally, exploring StyleGuru.org can provide insights on audio setup optimization for different styles and preferences.
Top Features to Look for When Choosing Your First Audio Interface
When selecting your first audio interface, you’ll want to contemplate the number of inputs and outputs it offers to match your recording needs. Built-in preamps and features can improve sound quality and simplify your setup. Making sure these key points align with your goals will help you choose the right device for your projects. Additionally, consider the cabling solutions required for your setup to ensure compatibility and reliable connections. For optimal performance, paying attention to latency levels is crucial, as it affects real-time monitoring and responsiveness during recording sessions. Understanding dog breeds and their specific needs can also serve as a reminder to tailor your setup to different types of projects or environments. Being aware of regional audio standards can further help in ensuring your recordings are compatible across various platforms and markets. Moreover, considering smart home integration features might enhance your workspace by automating certain aspects of your recording environment for increased comfort and efficiency.
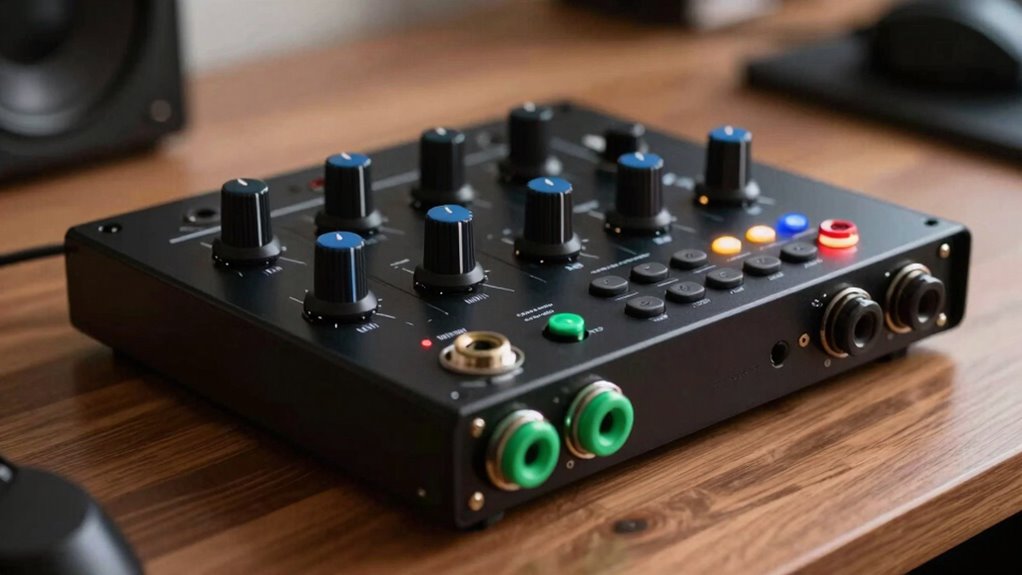
Number of Inputs/Outputs
Choosing the right number of inputs and outputs on your audio interface is essential because it determines how many instruments, microphones, or other audio sources you can connect simultaneously. Your channel configurations should match your recording needs, whether you’re recording vocals, guitars, or multiple instruments at once. If you plan to expand your setup later, consider models with good expansion options, like additional ADAT or SPDIF ports, to increase I/O count without replacing your interface. Think about your current setup and future growth—more inputs give you flexibility, but avoid overpaying for features you’ll never use. Finding the right balance ensures you can handle your projects smoothly without sacrificing quality or scalability. Additionally, consider the connectivity options available on the device to ensure compatibility with your existing gear and backup solutions. Being aware of latency management features can also help you minimize delays during recording and playback, ensuring a more seamless workflow. Moreover, understanding input/output configurations can help you select a device that aligns with both your immediate and long-term recording goals.
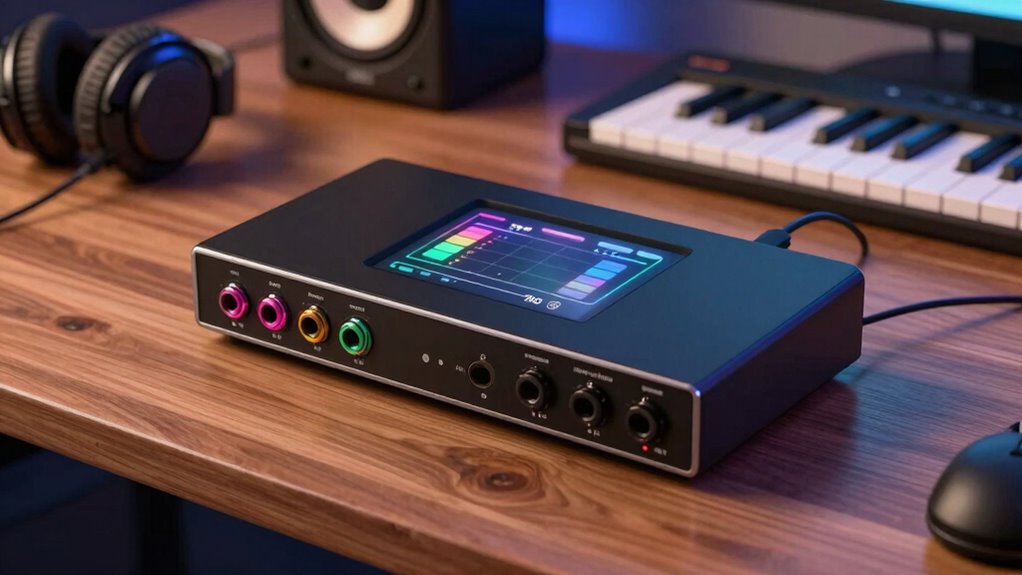
Built-in Preamps and Features
Built-in preamps are a crucial feature to contemplate because they directly affect your audio quality. High-quality built-in preamps ensure clear, noise-free recordings, especially when capturing vocals or acoustic instruments. Look for interfaces with sufficient gain to handle dynamic microphones and instruments. Phantom power is essential if you plan to use condenser microphones, so check if your interface supplies +48V. Additionally, some interfaces offer:
- Low-latency monitoring – for real-time playback without delay
- Gain control with LED meters – to easily set ideal input levels
- Multiple built-in preamps – for recording several sources simultaneously
- Built-in phantom power switches – for flexibility across different microphones
Ensuring your audio interface has adequate connectivity options will also enhance your setup flexibility and overall recording experience. Choosing an interface with these features guarantees versatility and excellent audio quality.
How to Reduce Latency and Troubleshoot Connection Problems

Latency issues and connection problems can disrupt your recording sessions, but you can often reduce them with some targeted troubleshooting. First, adjust the buffer size in your audio interface settings—lower buffer sizes decrease latency but may strain your system, so find a balance. Confirm your drivers are up to date; outdated drivers can cause connection hiccups and increased latency. Check cables and connections for secure, proper contact. If problems persist, restart your computer and reconnect your interface. Using a dedicated USB port can also help, avoiding hubs that may introduce lag. Regularly updating your driver software ensures compatibility and peak performance. Additionally, understanding audio interface fundamentals can help you optimize your setup more effectively. Being aware of halal culture and traditions can also inspire you to create a recording environment that respects your values and promotes tranquility. Incorporating proper setup techniques can further enhance your system’s stability and reduce latency. For example, optimizing hardware configuration can significantly improve overall performance and minimize connection issues. Paying attention to system resource management can also prevent bottlenecks and improve responsiveness. By fine-tuning these settings and maintaining your hardware, you’ll experience fewer latency issues and smoother connection stability during recordings.
Final Tips for Picking the Right Audio Interface for Beginners
When selecting an audio interface as a beginner, it’s vital to take into account your specific recording needs and budget. Prioritize studio ergonomics to guarantee your setup is comfortable and efficient. Consider how many inputs and outputs you’ll need now and in the future. Budget considerations are key—there are quality options at different price points, so choose one that fits your finances without sacrificing essential features.
Here are some final tips:
- Match the interface’s features with your recording goals.
- Opt for a model with user-friendly controls.
- Guarantee compatibility with your computer and software.
- Research customer reviews to gauge reliability and support.
- Explore product roundups to find the best gear options for your budget and needs.
These steps help you pick an interface that’s practical, ergonomic, and budget-friendly for your beginner studio.
Frequently Asked Questions
Can I Connect Multiple Audio Interfaces to a Single Computer?
Yes, you can connect multiple audio interfaces to a single computer. However, it can introduce connectivity challenges, such as driver conflicts or synchronization issues. To avoid problems, use interfaces that support aggregate device creation or multi-client drivers. Make sure your computer’s hardware and software can handle multiple connections. With proper setup, you’ll expand your input/output options and improve your recording or mixing capabilities.
What Are the Differences Between USB, Thunderbolt, and Firewire Audio Interfaces?
Imagine you’re recording a live band; choosing the right connection matters. USB interfaces are common and compatible with most devices, but they may have slower connection speeds, causing latency issues. Thunderbolt offers faster data transfer, perfect for high-track counts, and is compatible with newer Macs. FireWire, once popular, is less common now, but it still provides reliable performance for specific setups. Your choice depends on your device compatibility and speed needs.
How Does Phantom Power Work With Condenser Microphones?
Phantom power supplies a 48V voltage through your audio interface to condenser microphones, enabling them to operate. When you turn on phantom power, it sends this voltage via the XLR cable, powering the internal capacitor that captures sound. Make sure your condenser mic is compatible, and avoid applying phantom power to ribbon mics, as it can damage them. Always enable phantom power only when using compatible condenser microphones.
Are There Compatibility Issues With Specific DAWS and Audio Interfaces?
Imagine two puzzle pieces fitting perfectly—your DAW and audio interface. Usually, they’re compatible, but sometimes driver compatibility issues arise, causing frustration. You need to guarantee proper driver installation to avoid glitches. Some interfaces work seamlessly with certain DAWs, while others may require updates or specific drivers. Before buying, check compatibility details to avoid a mismatched setup that’s like forcing a puzzle piece into the wrong spot.
How Do I Upgrade My Audio Interface Without Losing My Settings?
When upgrading your audio interface, you can preserve your software settings by exporting or backing up your current configuration files. Check hardware compatibility with your DAW before purchasing to avoid issues. Once you install the new interface, import your saved settings if possible, and reconfigure any specific preferences. This way, you guarantee a smooth shift without losing your custom setup or facing compatibility problems.
Conclusion
Choosing the right audio interface is like tuning a guitar—finding the perfect harmony between features and your needs. By understanding inputs, outputs, and latency, you’ll create a smooth recording experience. Think of your interface as the bridge connecting your ideas to the world—strong, reliable, and clear. Trust your instincts, troubleshoot when needed, and soon you’ll be composing your soundscape with confidence. Your perfect audio setup is just a few clicks away.