
To make stars look sharp in astrophotography, set your camera to a wide aperture (f/2.8 or lower) for maximum light, and use manual focus to fine-tune on bright stars through live view. Keep ISO as low as possible to reduce noise—around 1600-3200—while maintaining brightness. Use short exposures (15-30 seconds) based on the focal length to prevent trails, and guarantee your camera is stable on a sturdy tripod. If you want to learn more about perfecting your star shots, continue exploring these tips.
Key Takeaways
- Use a wide aperture (f/2.8 or lower) to maximize light and enhance star sharpness.
- Focus manually on a bright star or distant light using live view and magnification for pinpoint clarity.
- Keep ISO as low as possible to reduce noise while maintaining sufficient brightness for sharp stars.
- Use a sturdy tripod and avoid camera shake during long exposures to prevent star blurring.
- Apply the 500 Rule: divide 500 by focal length to determine maximum exposure time before star trails appear.
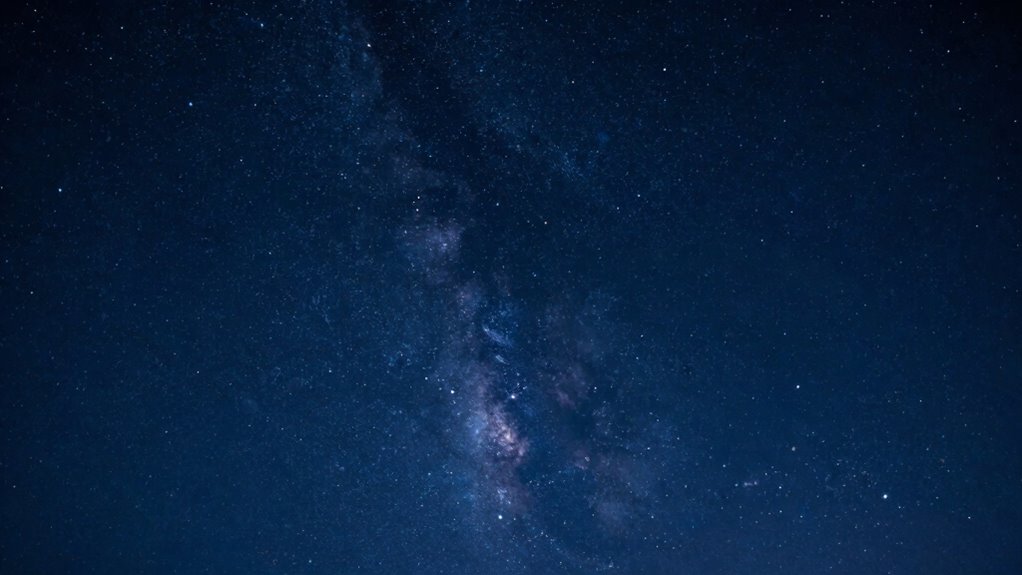
Fundamentals of Camera Settings for Night Sky Photography
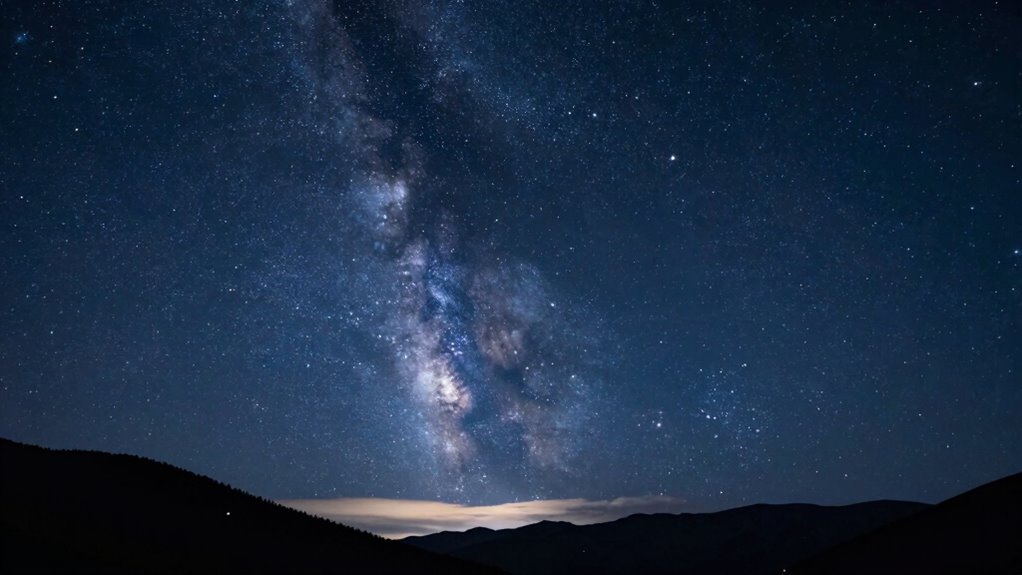
To capture clear and detailed images of the night sky, understanding your camera’s settings is essential. Start with a wide aperture, like f/2.8 or lower, to maximize light intake. Use a high ISO, but avoid excessive levels that introduce noise—around ISO 1600 to 3200 usually works well. For star trail techniques, set a long exposure, typically 15 to 30 seconds, to allow enough light without star trails blurring unless that’s your goal. When planetary imaging, keep the shutter speed short to avoid motion blur, and increase ISO carefully. Use manual focus to ensure stars are sharp, and disable image stabilization. Mastering these settings helps you capture stunning star trails, sharp planets, and intricate celestial details. Additionally, understanding how seasons affect celestial positioning can help you plan optimal shooting times for the Milky Way and other astronomical objects. Being aware of sensor sensitivity can further improve your image quality by balancing light intake and noise levels.
How to Choose the Best Lens and Focal Length for Stars

Choosing the right lens and focal length can make a significant difference in capturing stunning night sky images. Your lens selection impacts how much of the sky you can include and how sharp the stars appear. For astrophotography, wide-angle lenses with short focal length choices—typically between 14mm and 24mm—are ideal. These lenses allow you to capture expansive star fields and minimize star trails caused by Earth’s rotation. A fast lens with a wide maximum aperture (like f/2.8 or wider) lets in more light, essential for bright, clear stars. Avoid telephoto lenses for general star shots, as they narrow your view and increase the risk of star trails. Focus on a lens that balances focal length and aperture to achieve sharp, detailed night sky images.
How to Set Exposure to Capture Bright and Clear Stars

Setting the right exposure is key to capturing bright, clear stars without trails or blurring. To achieve this, consider these steps:
- Use the 500 Rule—divide 500 by your focal length to find the maximum exposure time before star trails appear.
- Incorporate star trail techniques by keeping exposures short enough to prevent trails during long shoots.
- Pay attention to moon phase considerations; shoot during a new moon for darker skies and more star brightness.
- Adjust your camera settings based on your surroundings, ensuring your exposure captures enough light without overexposing.
- Be aware of sauna safety tips to prevent overheating and ensure comfort during extended shooting sessions in warm environments.
- Understanding contrast ratio can also help in processing your images afterward, emphasizing star brightness against the night sky.
- Familiarizing yourself with exposure compensation can help fine-tune your settings to achieve optimal star visibility in varying conditions.
- Properly managing dynamic range allows you to capture both the faint stars and the darker sky without losing detail.
- Additionally, using histogram analysis can help you evaluate your exposure in real-time, ensuring your stars are well-exposed without clipping highlights or shadows.
Balancing these factors helps you get sharp stars and clear images, while understanding star trail techniques and moon phases prevents unwanted trails and enhances overall clarity.
Adjusting ISO to Reduce Noise and Keep Stars Sharp
Adjusting your ISO helps balance noise levels and star sharpness in your images. When you increase ISO, your photos get brighter but may also become grainy; lowering it reduces noise but can make stars less visible. Find the right balance to keep stars crisp while maintaining proper brightness without introducing unwanted noise. Proper camera settings, including ISO, are crucial for achieving clear, sharp astrophotographs, especially when minimizing image noise for optimal results. Understanding how sensor sensitivity affects your camera’s performance can further enhance your ability to capture stunning night sky images. Additionally, knowing the weight of your equipment can help prevent camera shake during long exposures, ensuring sharper images. Regular maintenance of your camera components can also help in maintaining optimal performance during astrophotography sessions, emphasizing the importance of a well-calibrated setup for stellar imaging.
Balancing ISO and Exposure
Balancing ISO and exposure is essential for capturing sharp, noise-free stars in astrophotography. To optimize your settings:
- Keep ISO as low as possible to reduce noise, especially for long exposures.
- Adjust exposure time based on star trail techniques, avoiding star elongation.
- Use a tripod to stabilize your camera during longer exposures.
- Plan shoots around celestial event timing for better lighting and focus.
- Incorporating noise reduction techniques can further enhance image clarity in your astrophotography.
Recognizing Noise Levels
How can you tell if your photos have too much noise? Look closely at your images, especially in dark areas, to spot grainy textures or color speckles. High sensor sensitivity increases noise, making stars appear fuzzy or pixelated. To recognize noise levels effectively, compare shots taken at different ISO settings; higher ISO often results in more noise. When noise becomes distracting, it’s time to adjust your ISO downward. Proper noise reduction techniques, either in-camera or during post-processing, can help smooth out unwanted grain while preserving star sharpness. Keeping ISO as low as possible without sacrificing brightness allows you to minimize noise, ensuring your stars stay crisp and clear. Regularly monitoring noise levels helps you strike the right balance for astrophotography for stunning astrophotos.
Adjusting for Brightness
Have you noticed that increasing your ISO makes your images brighter but also adds unwanted noise? To balance brightness and clarity, adjust your ISO carefully, especially in challenging conditions like light pollution or poor weather. Here are key tips:
- Use the lowest ISO possible to reduce noise while maintaining enough brightness.
- Increase ISO only if your shutter speed isn’t fast enough to prevent star trails.
- In areas with light pollution, a higher ISO can help brighten stars, but too much introduces noise.
- Weather conditions like fog or haze may require a slightly higher ISO to compensate for reduced contrast.
- Remember that gear maintenance and proper camera settings work together to ensure your stars stay sharp and your images clear.
- Understanding the impact of ISO on image quality can help you make better adjustments for sharp, clear star photos. Additionally, knowing how arcade game mechanics influence image capture can inspire creative techniques in astrophotography.
- Familiarity with camera sensor performance can also guide you in choosing the optimal ISO for different environments, ensuring consistent results.
- Adjusting your exposure settings in tandem with ISO can further optimize your star photography outcomes.
Always review your images and adjust ISO incrementally to keep stars sharp and noise minimal.
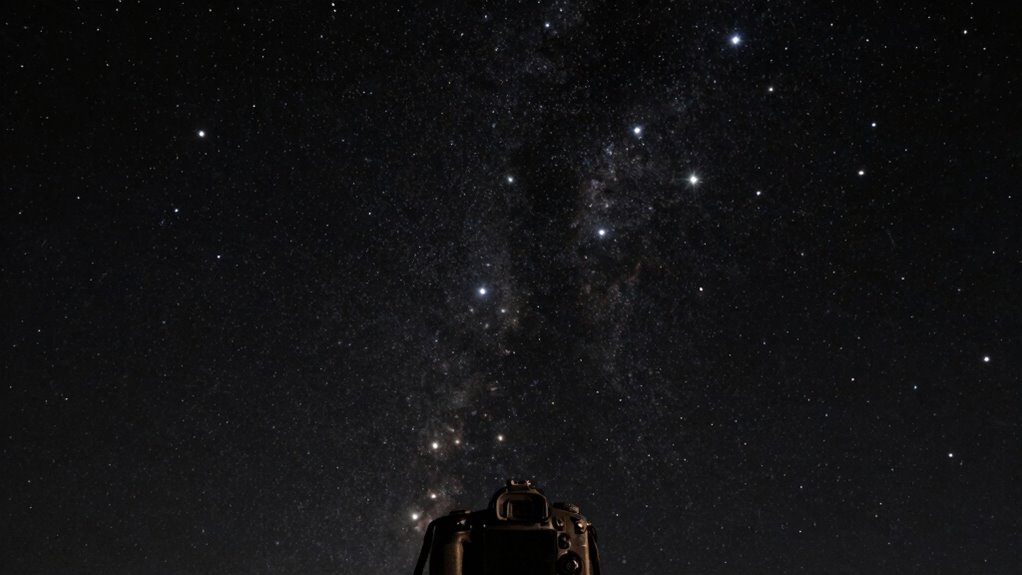
Tips for Achieving Precise Focus on Distant Stars

To get sharp images of distant stars, you should switch to manual focus, as autofocus often struggles in low light. Using live view allows you to zoom in and fine-tune your focus for maximum precision. This approach guarantees your stars stay pinpoint sharp in your astrophotography shots. Additionally, choosing the right best woods for farmhouse tables can enhance your outdoor setup, ensuring your equipment remains stable and protected against the elements. Practicing with focus aids and understanding your camera’s industry trends can also improve your overall results.
Use Manual Focus
Achieving sharp focus on distant stars requires switching your camera to manual focus mode. Autofocus challenges often make it difficult to get precise focus on stars, so manual focus is essential. To do this effectively:
- Use live view and zoom in on a bright star or distant light.
- Adjust focus slowly until the star appears as small and sharp as possible.
- Use a focus mask or live view magnification to fine-tune.
- Confirm focus by taking test shots, checking for star sharpness and minimal trailing.
- Remember that proper somatic therapy techniques can help manage the stress and anxiety that might interfere with your focus during long night shoots.
Employ Live View
Why is using live view so effective for focusing on distant stars? Live view lets you magnify the scene, making it easier to fine-tune focus on tiny star points. When aiming for star trail techniques, precise focus is vital to prevent star trails from blurring. Additionally, celestial event timing, like a meteor shower or planetary alignment, demands sharp images, so focus must be exact. By zooming in on a bright star or distant planet through live view, you can adjust your focus ring until the star appears as a crisp point. This method minimizes focus errors caused by autofocus struggles in low light. Employing live view guarantees your camera is perfectly focused, resulting in cleaner, sharper star images that capture the beauty of the night sky.
Selecting the Right Aperture to Maximize Light and Detail
Choosing the right aperture is essential for capturing the best astrophotographs because it determines how much light enters your camera. Proper aperture selection enhances light gathering and detail. Focus on these key points:
- Use a wide aperture (small f-number) to maximize light intake, especially in low-light conditions.
- Avoid extremely wide apertures, which can cause star bloating or softness.
- Balance aperture with your lens sharpness; some lenses perform best at mid-range f-stops.
- Remember, smaller apertures (higher f-numbers) reduce light gathering, limiting detail.
Common Problems in Astrophotography and How to Fix Them

Despite careful planning, many astrophotographers encounter common problems that can compromise image quality. One issue is star trails caused by long exposures, which can blur stars if you don’t use star trail techniques properly. To fix this, adjust your exposure time or use stacking methods to create sharp, pinpoint stars. Another problem involves moon phase considerations; shooting during a full moon results in excessive light pollution, washing out stars. Planning your shoot during a new moon or when the moon is below the horizon helps reduce unwanted glare. Additionally, camera shake can blur images—using a sturdy tripod and remote shutter release minimizes this. Recognizing these issues and applying targeted solutions guarantees your astrophotos stay sharp and vibrant.
Frequently Asked Questions
How Do Weather Conditions Affect Astrophotography Image Quality?
Weather conditions markedly impact your astrophotography image quality. Cloud cover can obscure stars and create unwanted halos or blurriness, making your photos less clear. High humidity levels cause moisture to settle on your lens or sensor, resulting in hazy images or spots. Clear, dry nights are ideal, so check the forecast before heading out. Minimizing clouds and humidity ensures sharper, more detailed star photos, enhancing your overall astrophotography experience.
What Post-Processing Techniques Enhance Star Sharpness?
You can dramatically enhance star sharpness through post-processing by applying noise reduction to eliminate graininess that blurs details. Next, use contrast enhancement carefully to make stars pop against the night sky, revealing their crispness. This combination sharpens your images, revealing more detail and clarity. Don’t overdo it—striking the right balance ensures your stars shine brightly and sharply, creating that enthralling, almost three-dimensional effect you’re after.
How Do Star Trails Influence Camera Settings Choices?
Star trails influence your camera settings by requiring a longer star trail exposure to capture the movement, which results in trail length control. You’ll want to set a longer exposure time, typically between 15 and 30 minutes, depending on your desired trail length. Keep your ISO low to reduce noise, and use a sturdy tripod to prevent camera shake. Adjust exposure duration to balance trail length and image clarity.
What Equipment Accessories Improve Astrophotography Results?
Think of your gear as your trusty telescope in the night sky. You’ll want a sturdy tripod to keep your camera steady, preventing any shakes that blur your stars. Lens filters act like a shield, reducing light pollution and enhancing star clarity. These accessories are essential; they turn a good shot into a stunning celestial portrait, helping you capture the universe’s beauty with sharp, crisp detail.
How Can I Prevent Camera Shake During Long Exposures?
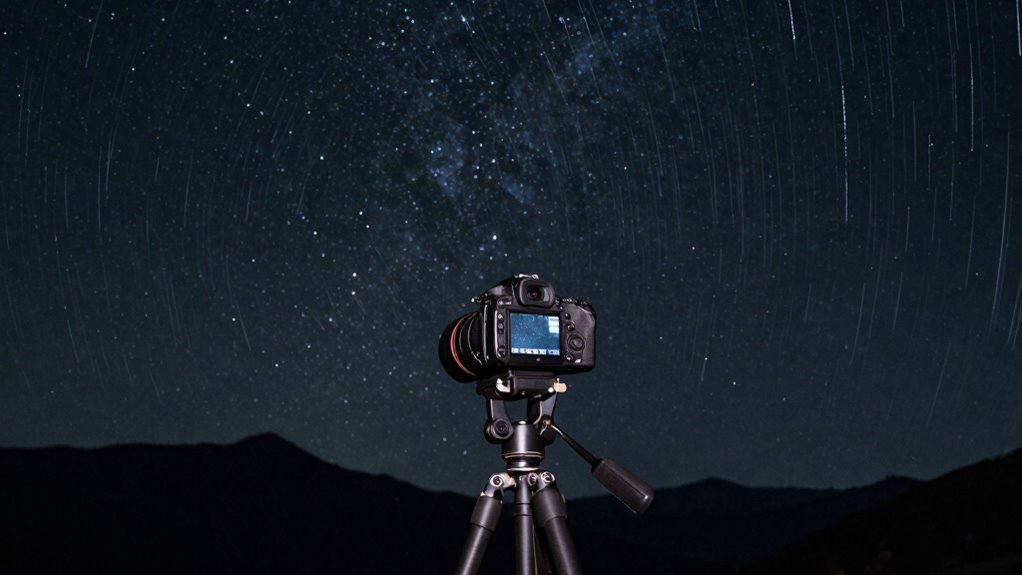
To prevent camera shake during long exposures, you should prioritize tripod stability and camera stabilization. Make certain your tripod is sturdy and on a level surface, lock all the joints tightly, and use a remote shutter release or timer to avoid touching the camera. This minimizes vibrations, keeping your camera steady and your stars sharp. Proper stabilization is essential for clear, crisp astrophotography images.
Conclusion
Mastering your camera settings is key to capturing sharp, stunning star photos. Remember, using the right focal length and aperture can make all the difference—studies show that wide-angle lenses with apertures of f/2.8 or lower markedly improve night sky detail. Keep your ISO balanced to reduce noise without sacrificing clarity. With patience and practice, you’ll turn your night sky shots into breathtaking images that truly shine.